…. get out your camera!


…. get out your camera!

As is usually the case when a group of blokes gather around, someone will make a ludicrous statement and the other will tear into him. Well, that happened at work this morning, but after some digging around, the statement wasn’t as ridiculous as I thought.
I rode in to work today and a few blokes saw the bike. One asked what the 2 computer device were. I explained one was a GPS and the other a Power meter. A few funny looks about the power meter, so I explained it to them. Then the afore mentioned comment.
“How many horsepower do you put out?”
I looked and laughed. Horse power. Horse. You think I am more powerful than a horse. Hilarity ensued.
As it happens, just this morning I managed to bust through the 1000w mark for a new high of 1179w. The boys wandered off and I rang my mate Jason and told him. He said he thought I might have done over 1hp. Hmm.
I grab an online converter and bugger me, 1179w equals 1.58hp. So really, what the guy said this morning wasn’t as ridiculous as it sounded. I better go and find him and let him know.
The upshot of this is, I went looking for an explanation. There is no way I am more powerful than a horse. this from Wiki.
In 1993, R. D. Stevenson and R. J. Wassersug published an article calculating the upper limit to an animal’s power output.[9] The peak power over a few seconds has been measured to be as high as 14.9 hp. However, Stevenson and Wassersug observe that for sustained activity, a work rate of about 1 hp per horse is consistent with agricultural advice from both 19th and 20th century sources.
Well that explains it. No need for a match race like the photo below then.
This is a hell of an interesting video about a bloke who decided to see what doping was like.
Andrew Tilin is the author of the book The Doper Next Door. Andrew spent almost a year using performance enhancing drugs in order to chronically his journey from everyman to testosterone superman. On the way he discovered that the fountain of youth has a dark side. Check out this conversation with Andrew as he talks about what it was like to be the doper next door.
Thanks to Glenn at ACF for the link.
Part 2 of the iBike iSport Review. Part 1 is here.
Set up.
Setting the iBike iSport up is done in two parts. Setting the unit itself up and mounting it to the bike.
Lets look at setting the unit up. The iBike iSport is powered by a CR2032 battery. Installation of that battery is a doddle. Use a coin to open the battery door, put the battery in and close the door with a coin. The unit then powers up. To go to the set up menu you hold down the UP arrow for 2 seconds.
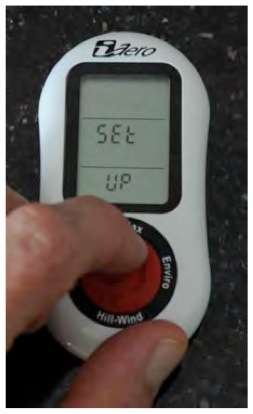
In here there is a fair bit of information to give the unit. The normal things like wheel circumference and unit preference, metric or imperial. There are also other inputs like weight, height and riding position. These help to estimate your aerodynamic drag. Next, you do a TILT Calibration. This helps to give the extremely accurate gradient measurements. The tilt calibration is easy. Just sit the bike somewhere that you can turn it 180 degrees easily and then it is just a matter of holding the bike still whilst you face it forward, then swing it 180 degrees and hold it still again. Once you are prompted, you swing it around 180 degrees again and wait for the prompt. Next up is the wind calibration. That just means getting the bike into a wind free environment. Like, a garage. Once you have the wind calibration done, it is time to get on the bike and do the ride calibration. I will look at the calibration ride a little later.
Now, onto mounting the unit. This, wasn’t as straight forward. As I said in the earlier review, I got the Rechargeable mount option. This mounts to the stem. Installation seems easy enough. An allen key and you can pull out the existing stem cover and replace with the iBike stem mount. Here is a shot of it on the bike.

You then place the iBike iSport onto the mount at an angle like below.
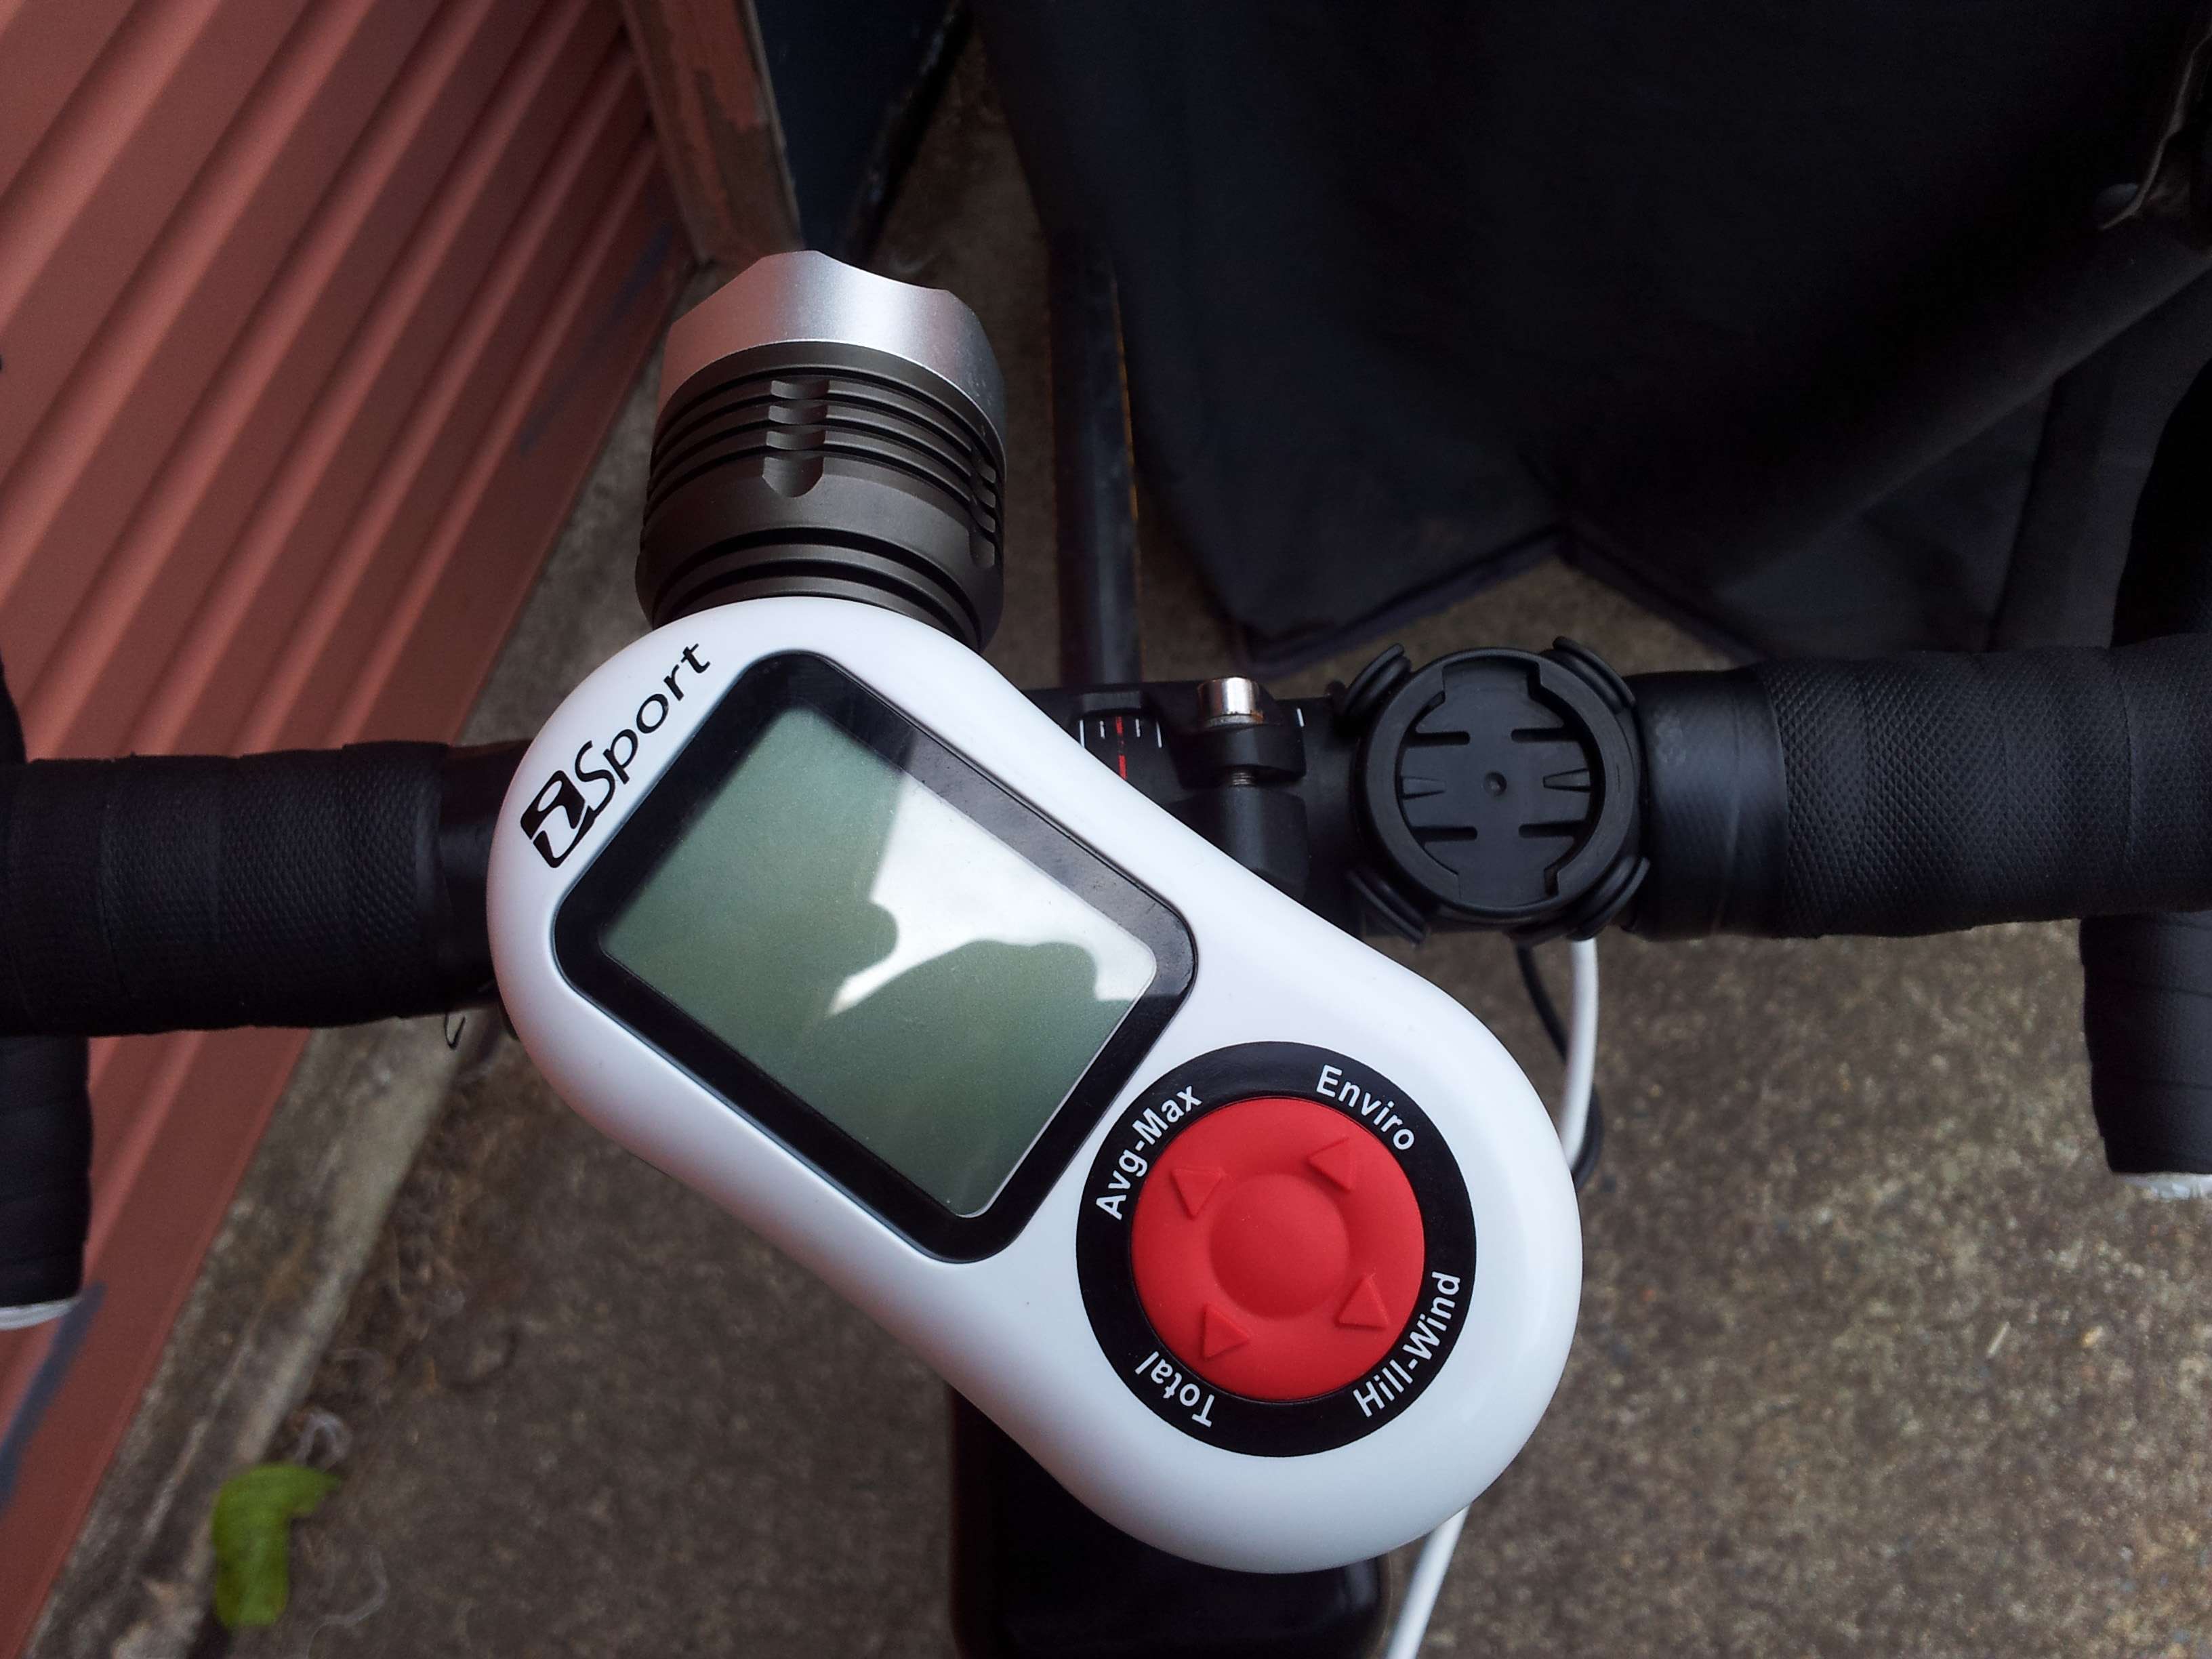
Then, twist to get it all locked in.
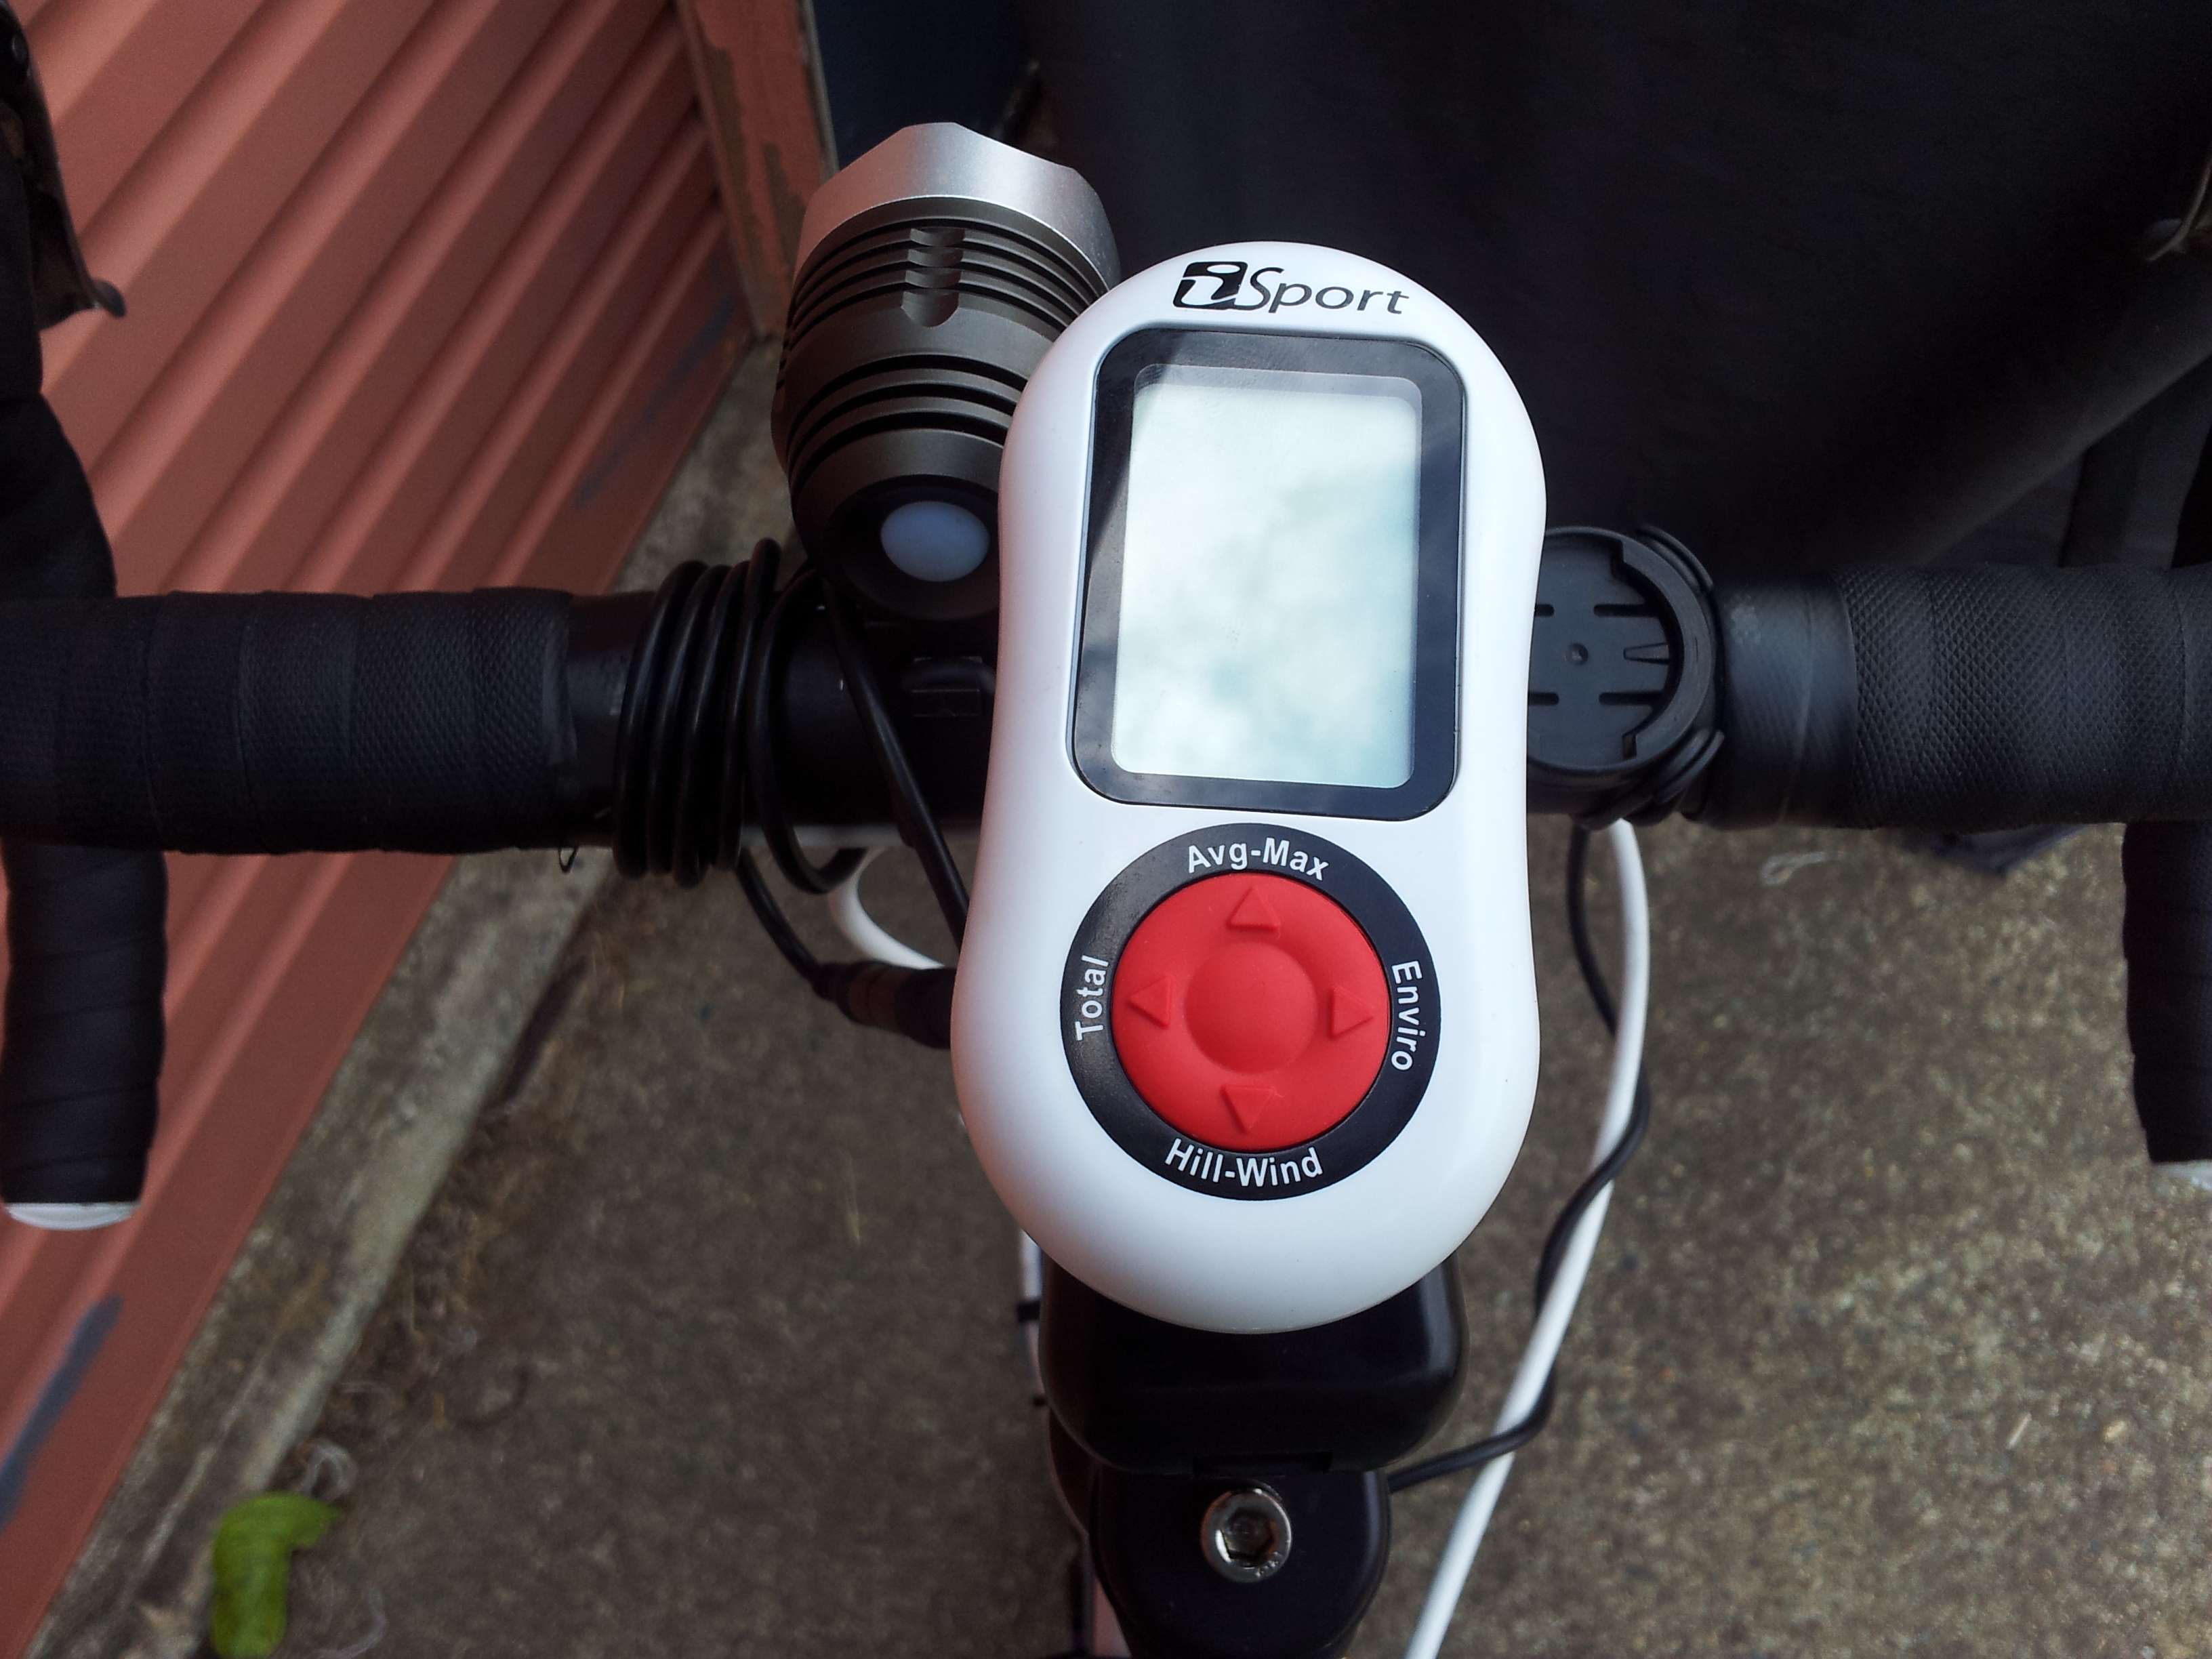
Hmm, that seems to be a bit off centre. It is, by more than you can see in that photo. The locking system has what seems like a double click lock. When you twist it on, there is a tactile click, and then another one. If I leave the unit at the point where it clicks once, it is nearly perfectly lined up. When I click it the second time, it is off centre. I have looked at the literature that was sent with the unit and I can’t find any mention of this. It certainly feels more secure with the second click. To get around this, I have had to set the mount up at a slight angle to offset it.
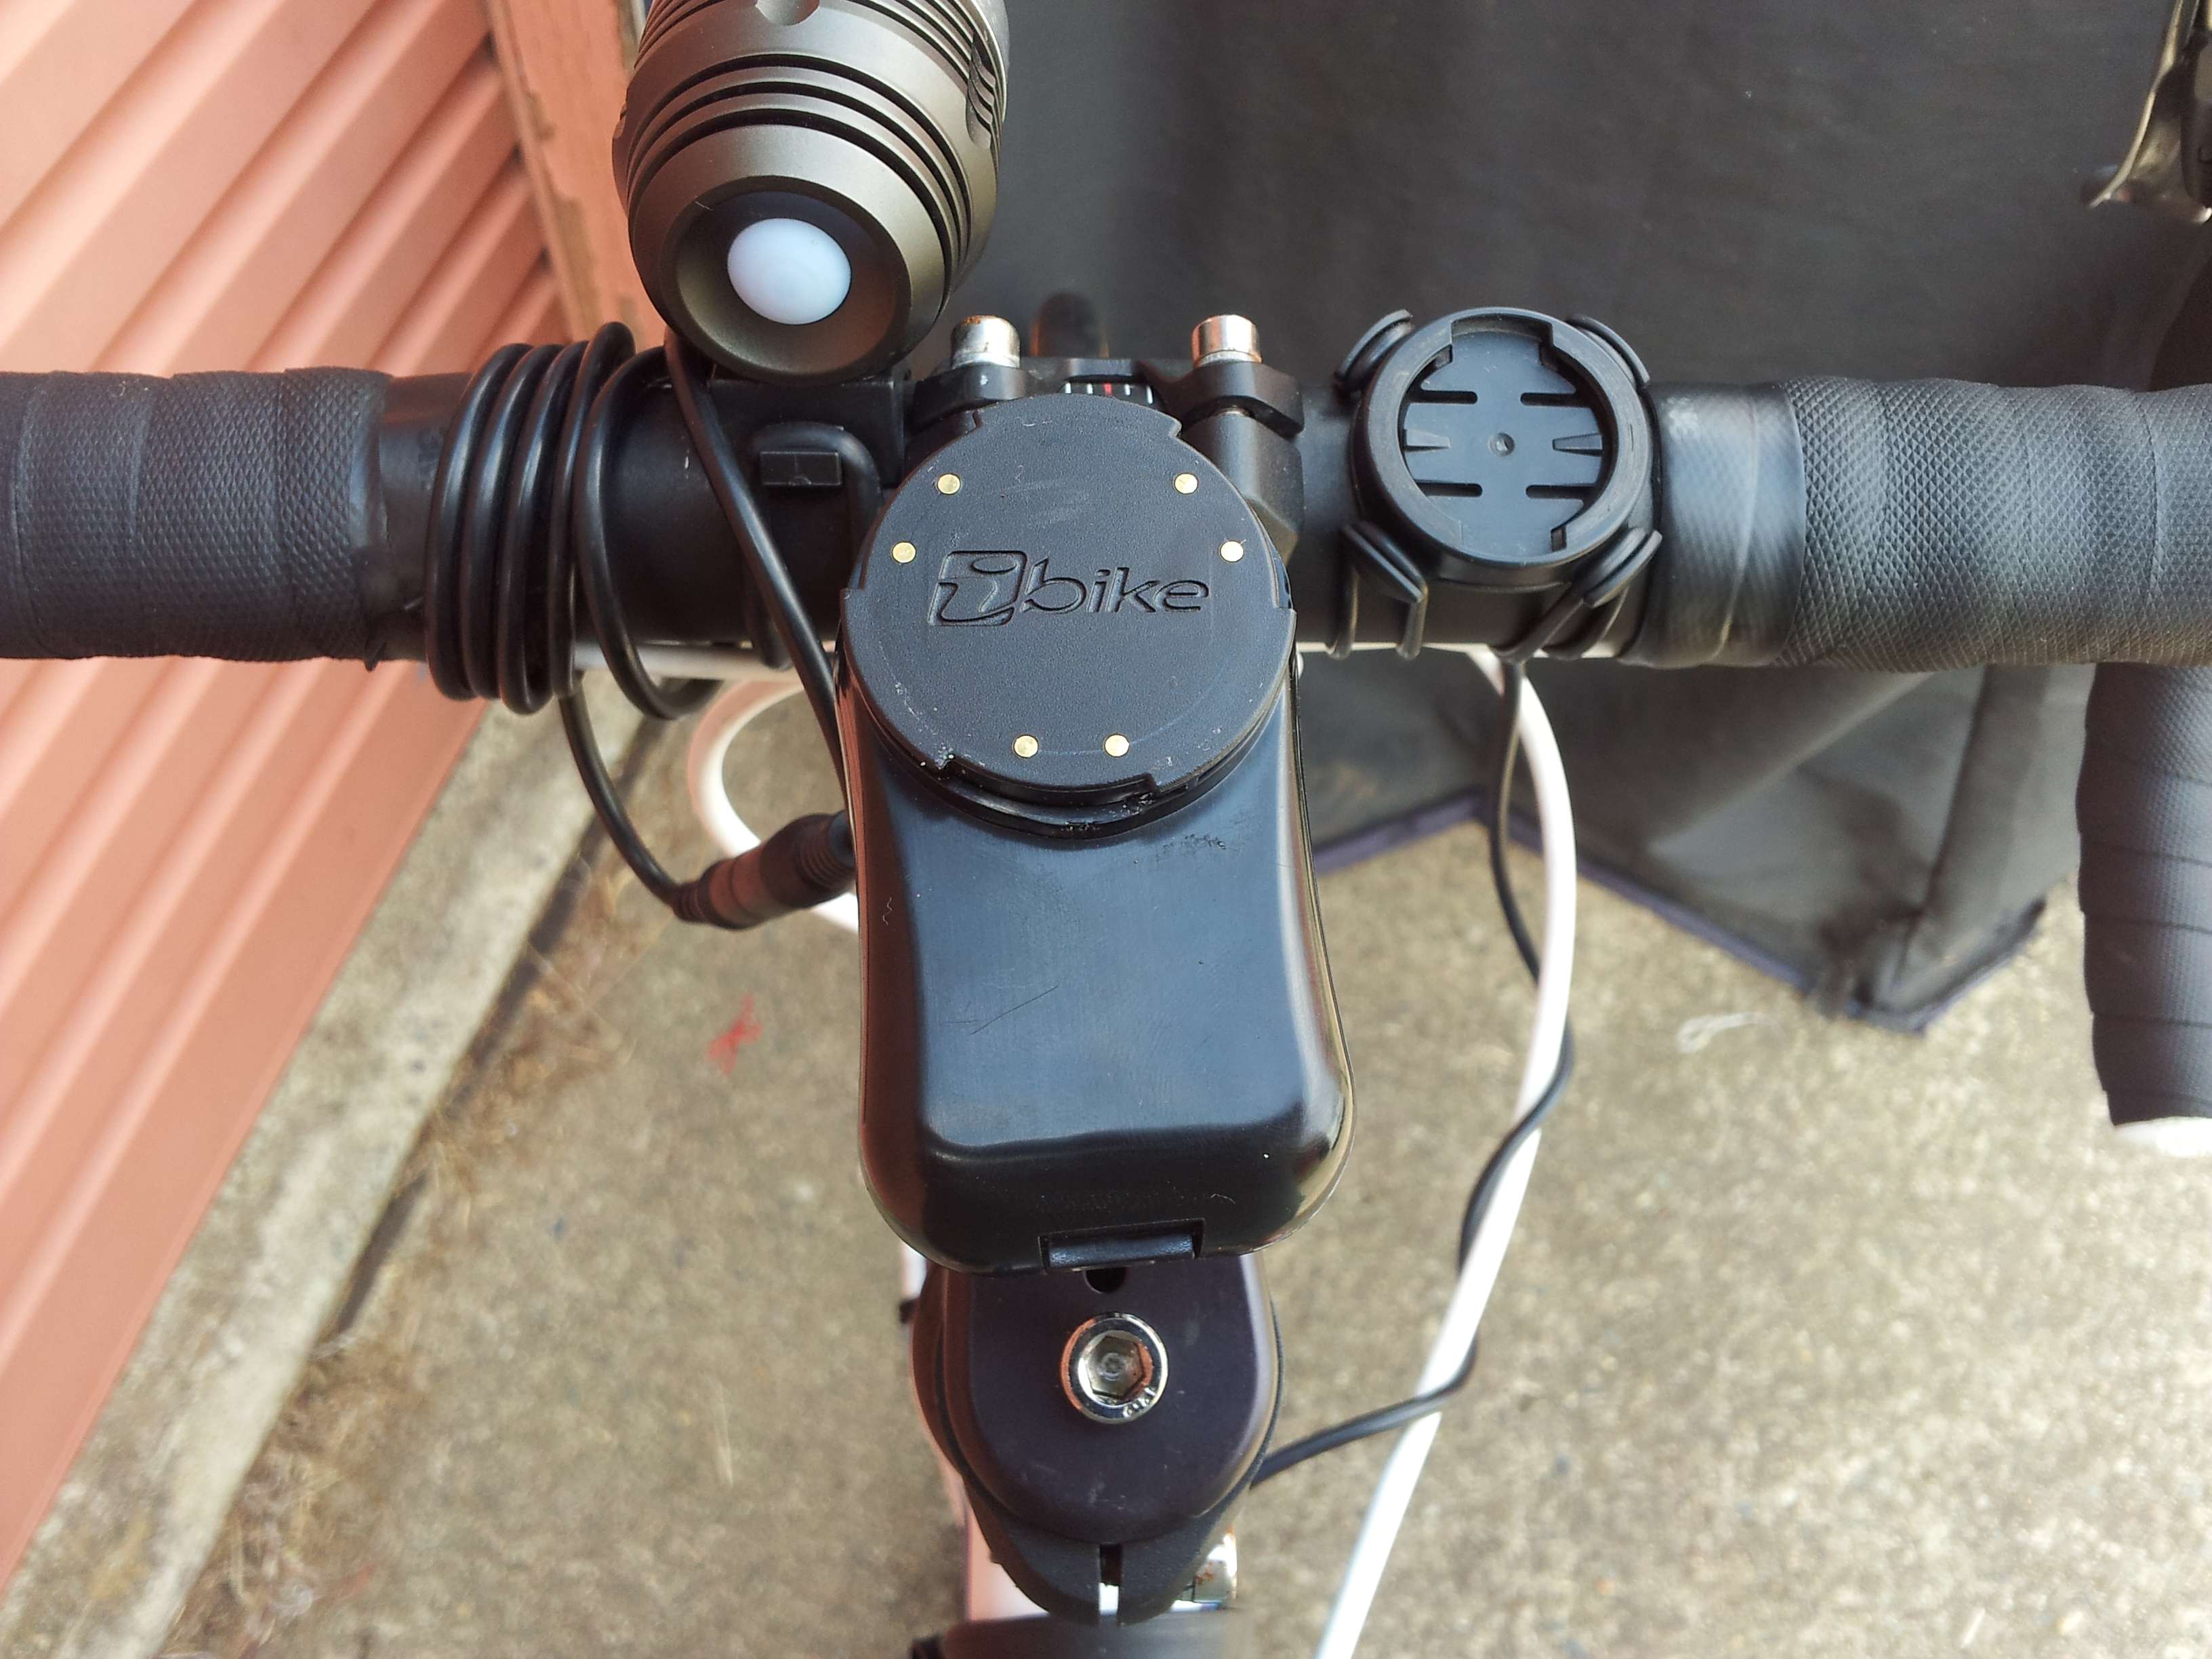
This certainly isn’t a deal breaker, but it is frustrating that for a product worth this much, you have to do it at all.
So, once it is mounted, you are ready to go. On to usage.
Usage.
The iBike iSport has 5 buttons. A centre button that acts like an Enter Key for most inputs, and four arrow keys. Up, down, left and right. To turn it on, you hold down the centre button to wake the unit up. It is a pity turning it off isn’t that straight forward. The unit will blink to life and do a battery check. I assume this checks the level of the battery in the unit itself, not the rechargeable mount, but I am not sure about this. I will ask a question on the iBike forums. You will either get a battery Good or Bad message. If all is good, then it does a wind calibration. If you are outside, it is suggested you cup your hand over the wind port to block any wind from hitting the sensor.
Once the wind calibration is done, the unit should find all your ANT+ sensors. The first time I had mine on the bike it didn’t find the Speed/Cadence sensor. I had to get the unit to do a scan. Once that was done, all my sensors showed up and the unit now remembers them.
The calibration ride is pretty straight forward. This from the user manual.
The Calibration Ride improves the accuracy of your wind sensor and tilt sensor, and also improves the accuracy of your estimated aerodynamic and frictional drag coefficients.
The Calibration Ride is 2 miles (3.2 KM) long. The cyclist rides one mile out, then turns around and rides back on the same road.
It was off for the calibration ride. The first one was aborted when the heavens opened up. So another day and it was all done. The calibration ride is just an easy dawdle out for 1 mile, 1.6kms, then you turn around and complete the ride back. It then does all the black magic and gives you a whole stack of numbers to do with aerodynamics and god knows what else. I was just happy the unit was ready to use.
The first ride out I made the mistake of watching my power figures. I spent the best part of 2 hours thinking “I can put more power out than this!” It is quite surprising the first time you use it just how quickly your output can change. Pulling up a 5% hill and when I pushed I was pushing out 500+ watts. Then cruising down the other side, whilst pedalling, 30 watts.
Numbers. I love numbers and statistics, so having another variable to track was great. Actually getting the numbers out of the unit wasn’t as intuitive as I thought it would be. Just now, after 12 hours of usage I am pretty comfortable with the interface, but it was a little daunting at the beginning. I would scroll through a couple of screens of data and then get lost and not know how to get back to the main screen. It isn’t necessarily a bad system, just not as intuitive as others, like the Garmin Edge 800, that I have used.
After a couple of rides with the new toy, it was time to go out and do the Fitness test. this from the manual…
Your iBike includes a built-in, power-based fitness test that measures your cycling fitness. It is a very simple test: you ride as hard as you can for 20 minutes. Then, the iBike computes the average watts you held during the test, divided by your body weight in KG.
This “Watts per kilogram” ratio is a simple and critical measure of cycling fitness. Simply put, the higher your watts per kilogram the more fit you are and the faster you’ll go.
Also, the average watts held during the Fitness Test, times the multiplier of 0.95, is an excellent measure of your Functional Threshold Power (FTP). FTP is used by most experts
as a key measure of your overall aerobic limit and cycling fitness.
The iBike firmware includes a table developed by professional racer and noted cycling coach Boyd Johnson that interprets your W/KG score as a fitness level from one to ten.
Your fitness level is based on your W/KG measurement and your sex. Here is the table that is loaded into the iBike firmware:
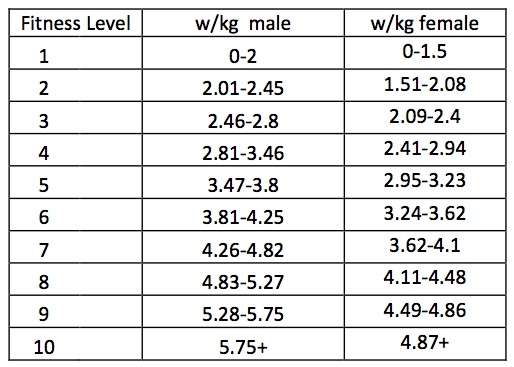
Now I will be honest, I had no idea where I thought I would score for this test. I was averaging roughly 200 watts over 2 hour rides for the first couple of times out, but I wasn’t killing myself. I was going to have to average nearly 280 watts for 10 minutes to score a 3 on the fitness test. It is suggested to find a nice flat area to pedal flat out for 20 minutes. it is in bold in the manual. You need to be pedalling during the entire test. I knew just the place. Off I went. I went out pretty hard and the heart rate was hovering around 170 for the first 10 minutes, then I pushed harder. I had miscalculated how far I would get in the 20 minutes and at one point I had to slow to take a corner and wait for a car to pass. I blame this for the result.
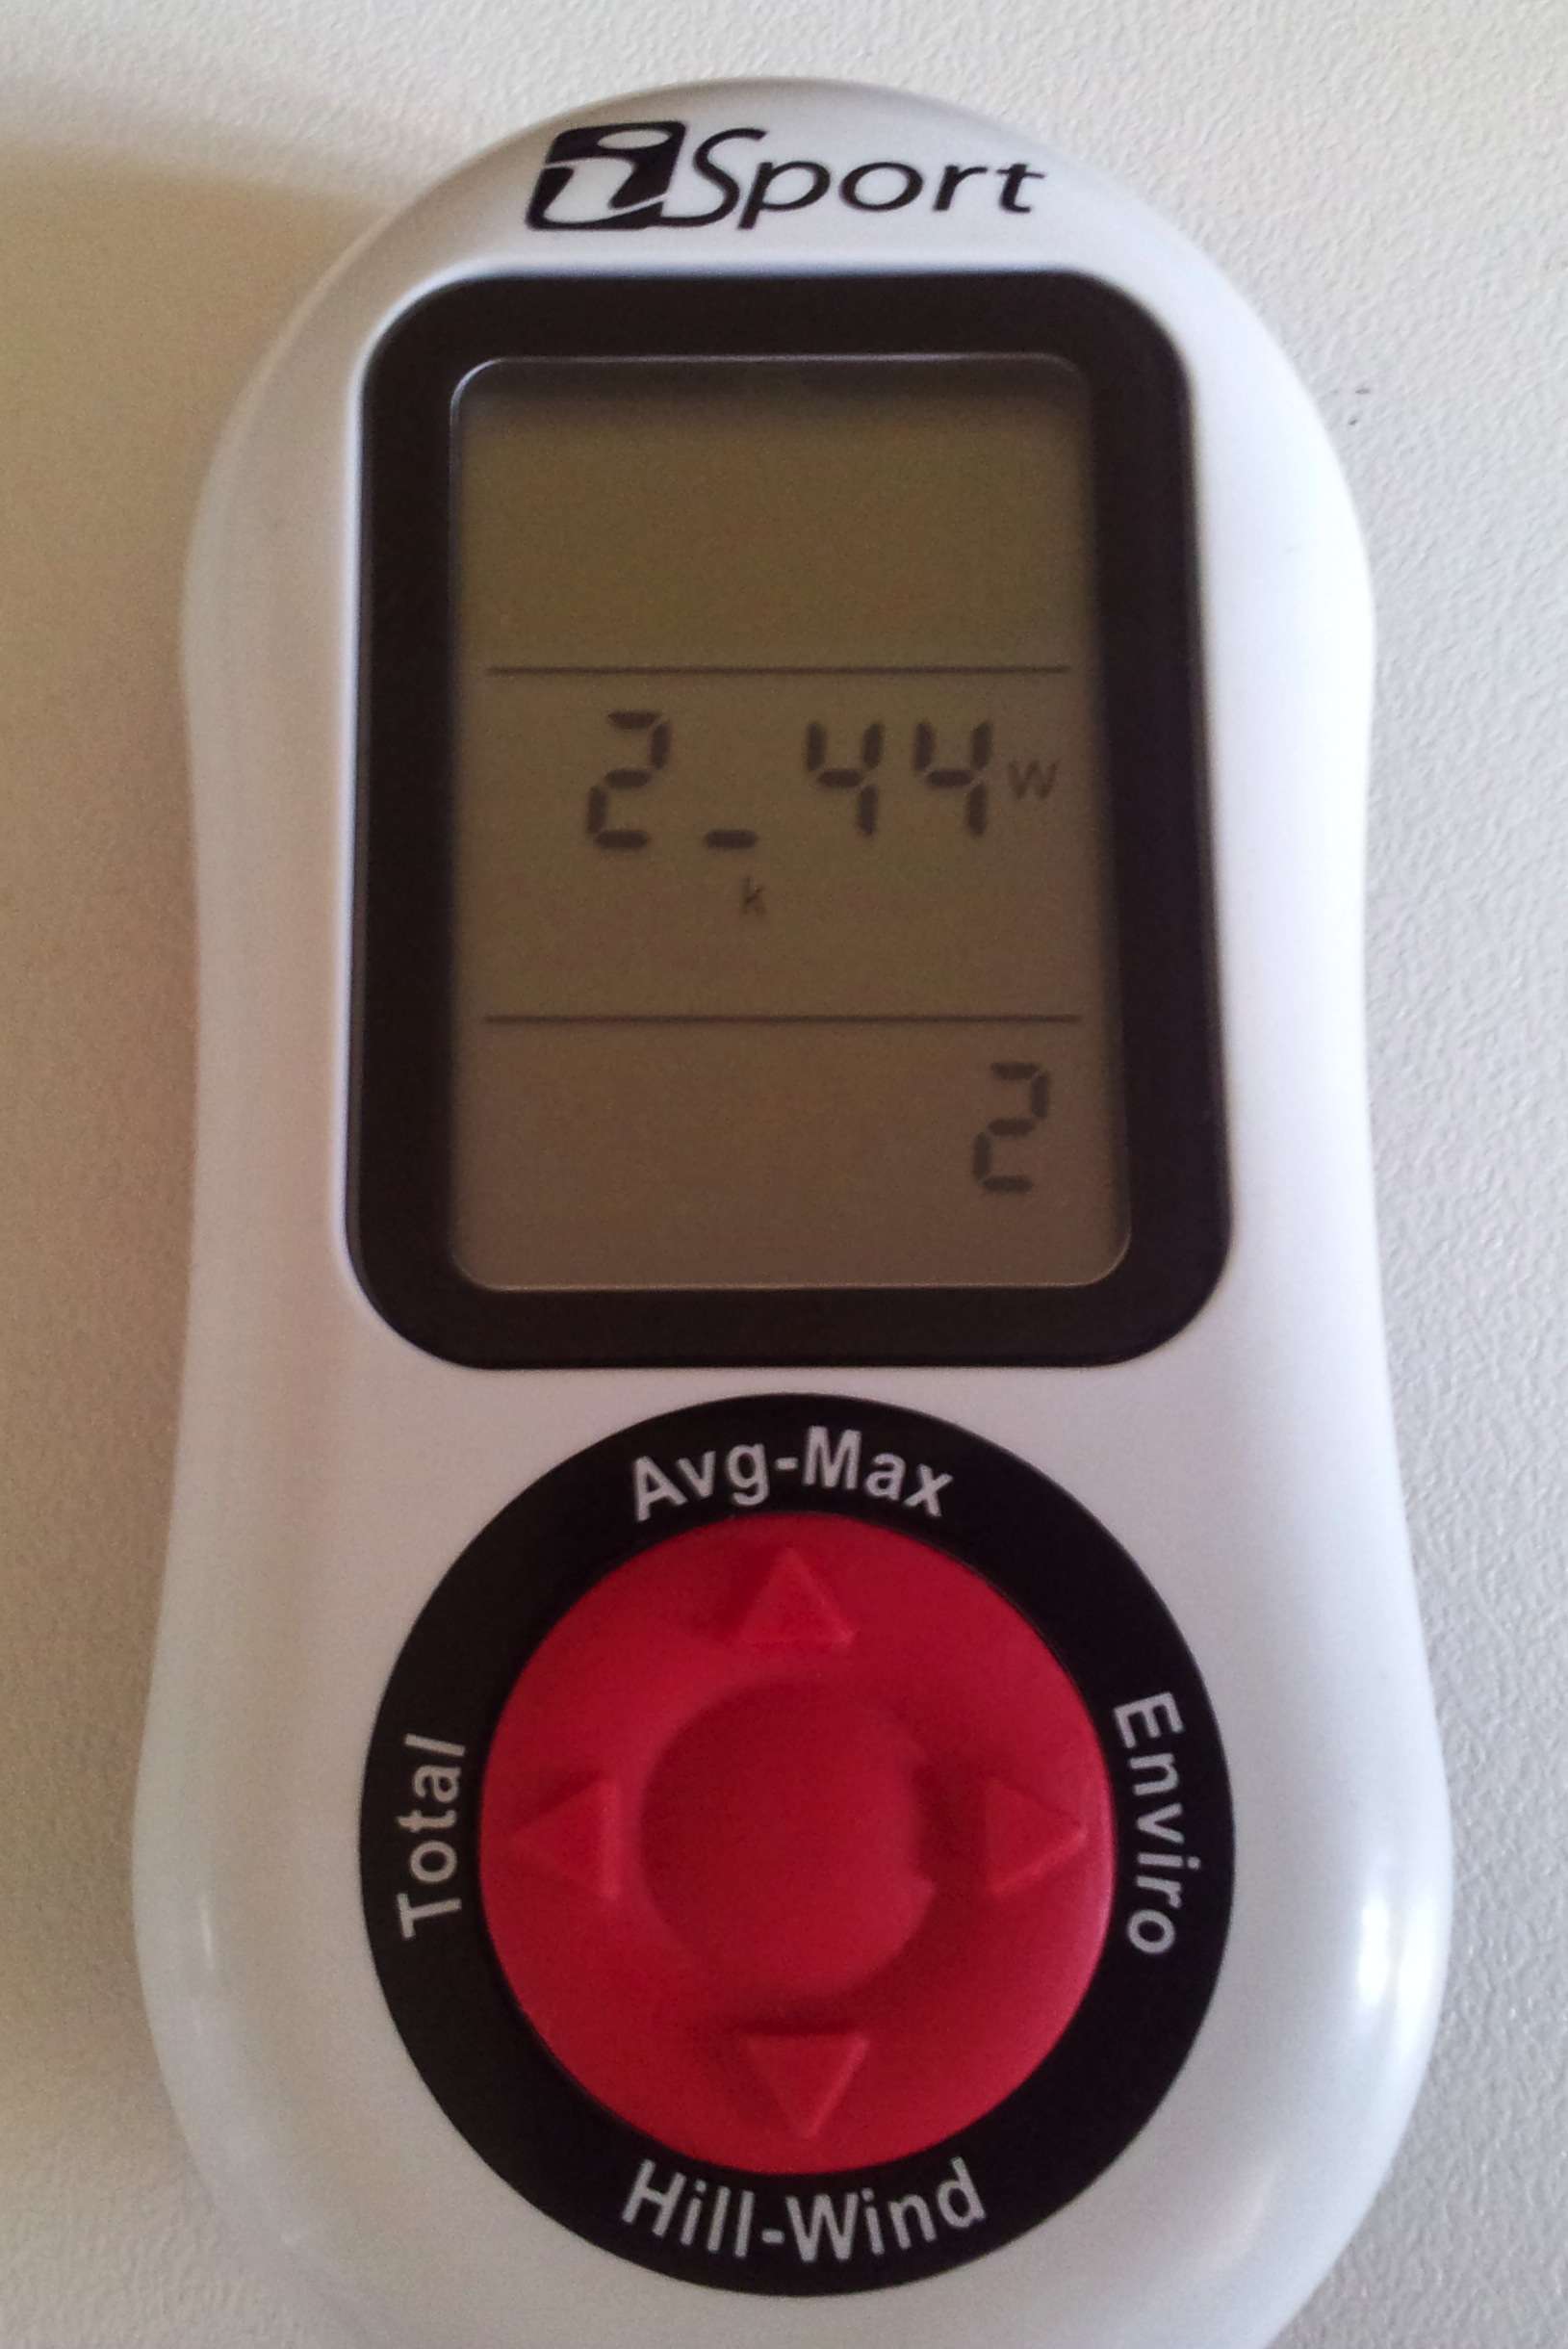
I scored a 2.44w/kg for the test, which you can see from the table above and the photo of the meter, got me a fitness rating of 2! There is no place to hide, the iBike had found me out. I will keep doing the test once every month or so to see how my fitness progresses. One of the really clever things about the iBike iSport is the built in Pre-Programmed Fitness Workouts. You can use the fitness level you achieved to help you to improve either your cardio, strength or fat burning. I will review these at a later date. Hopefully when my fitness level is above 2.
So that is about it. It probably reads a bit like a Jeremy Clarkson Top gear review. Starting out negative, but in the end I love the unit. I love how it is so accurate and fast with gradients on climbs. I love that I can see when I putting out good power and not killing myself. I love knowing what speed the headwind I am riding into is. And even though it has told me I am a fat pretender, I love that it will help me to become a fitter cyclist.
The iBike iSport is far from perfect, but at this point in time, I am glad I have it. Whether I become a better cyclist because of it, time will tell.
Sleeping in. I love doing it, but I also love going out for an early morning pedal. Last Sunday I set off a bit later than normal, but the sun was still low in the sky and the air was crisp. I was going to ride to Huskisson, a popular holiday destination in Jervis Bay. It was about 40kms from home. The first part of the ride was on roads I know well, this photo was on Forest Road, a terrific piece of tarmac that takes you out to the Highway.
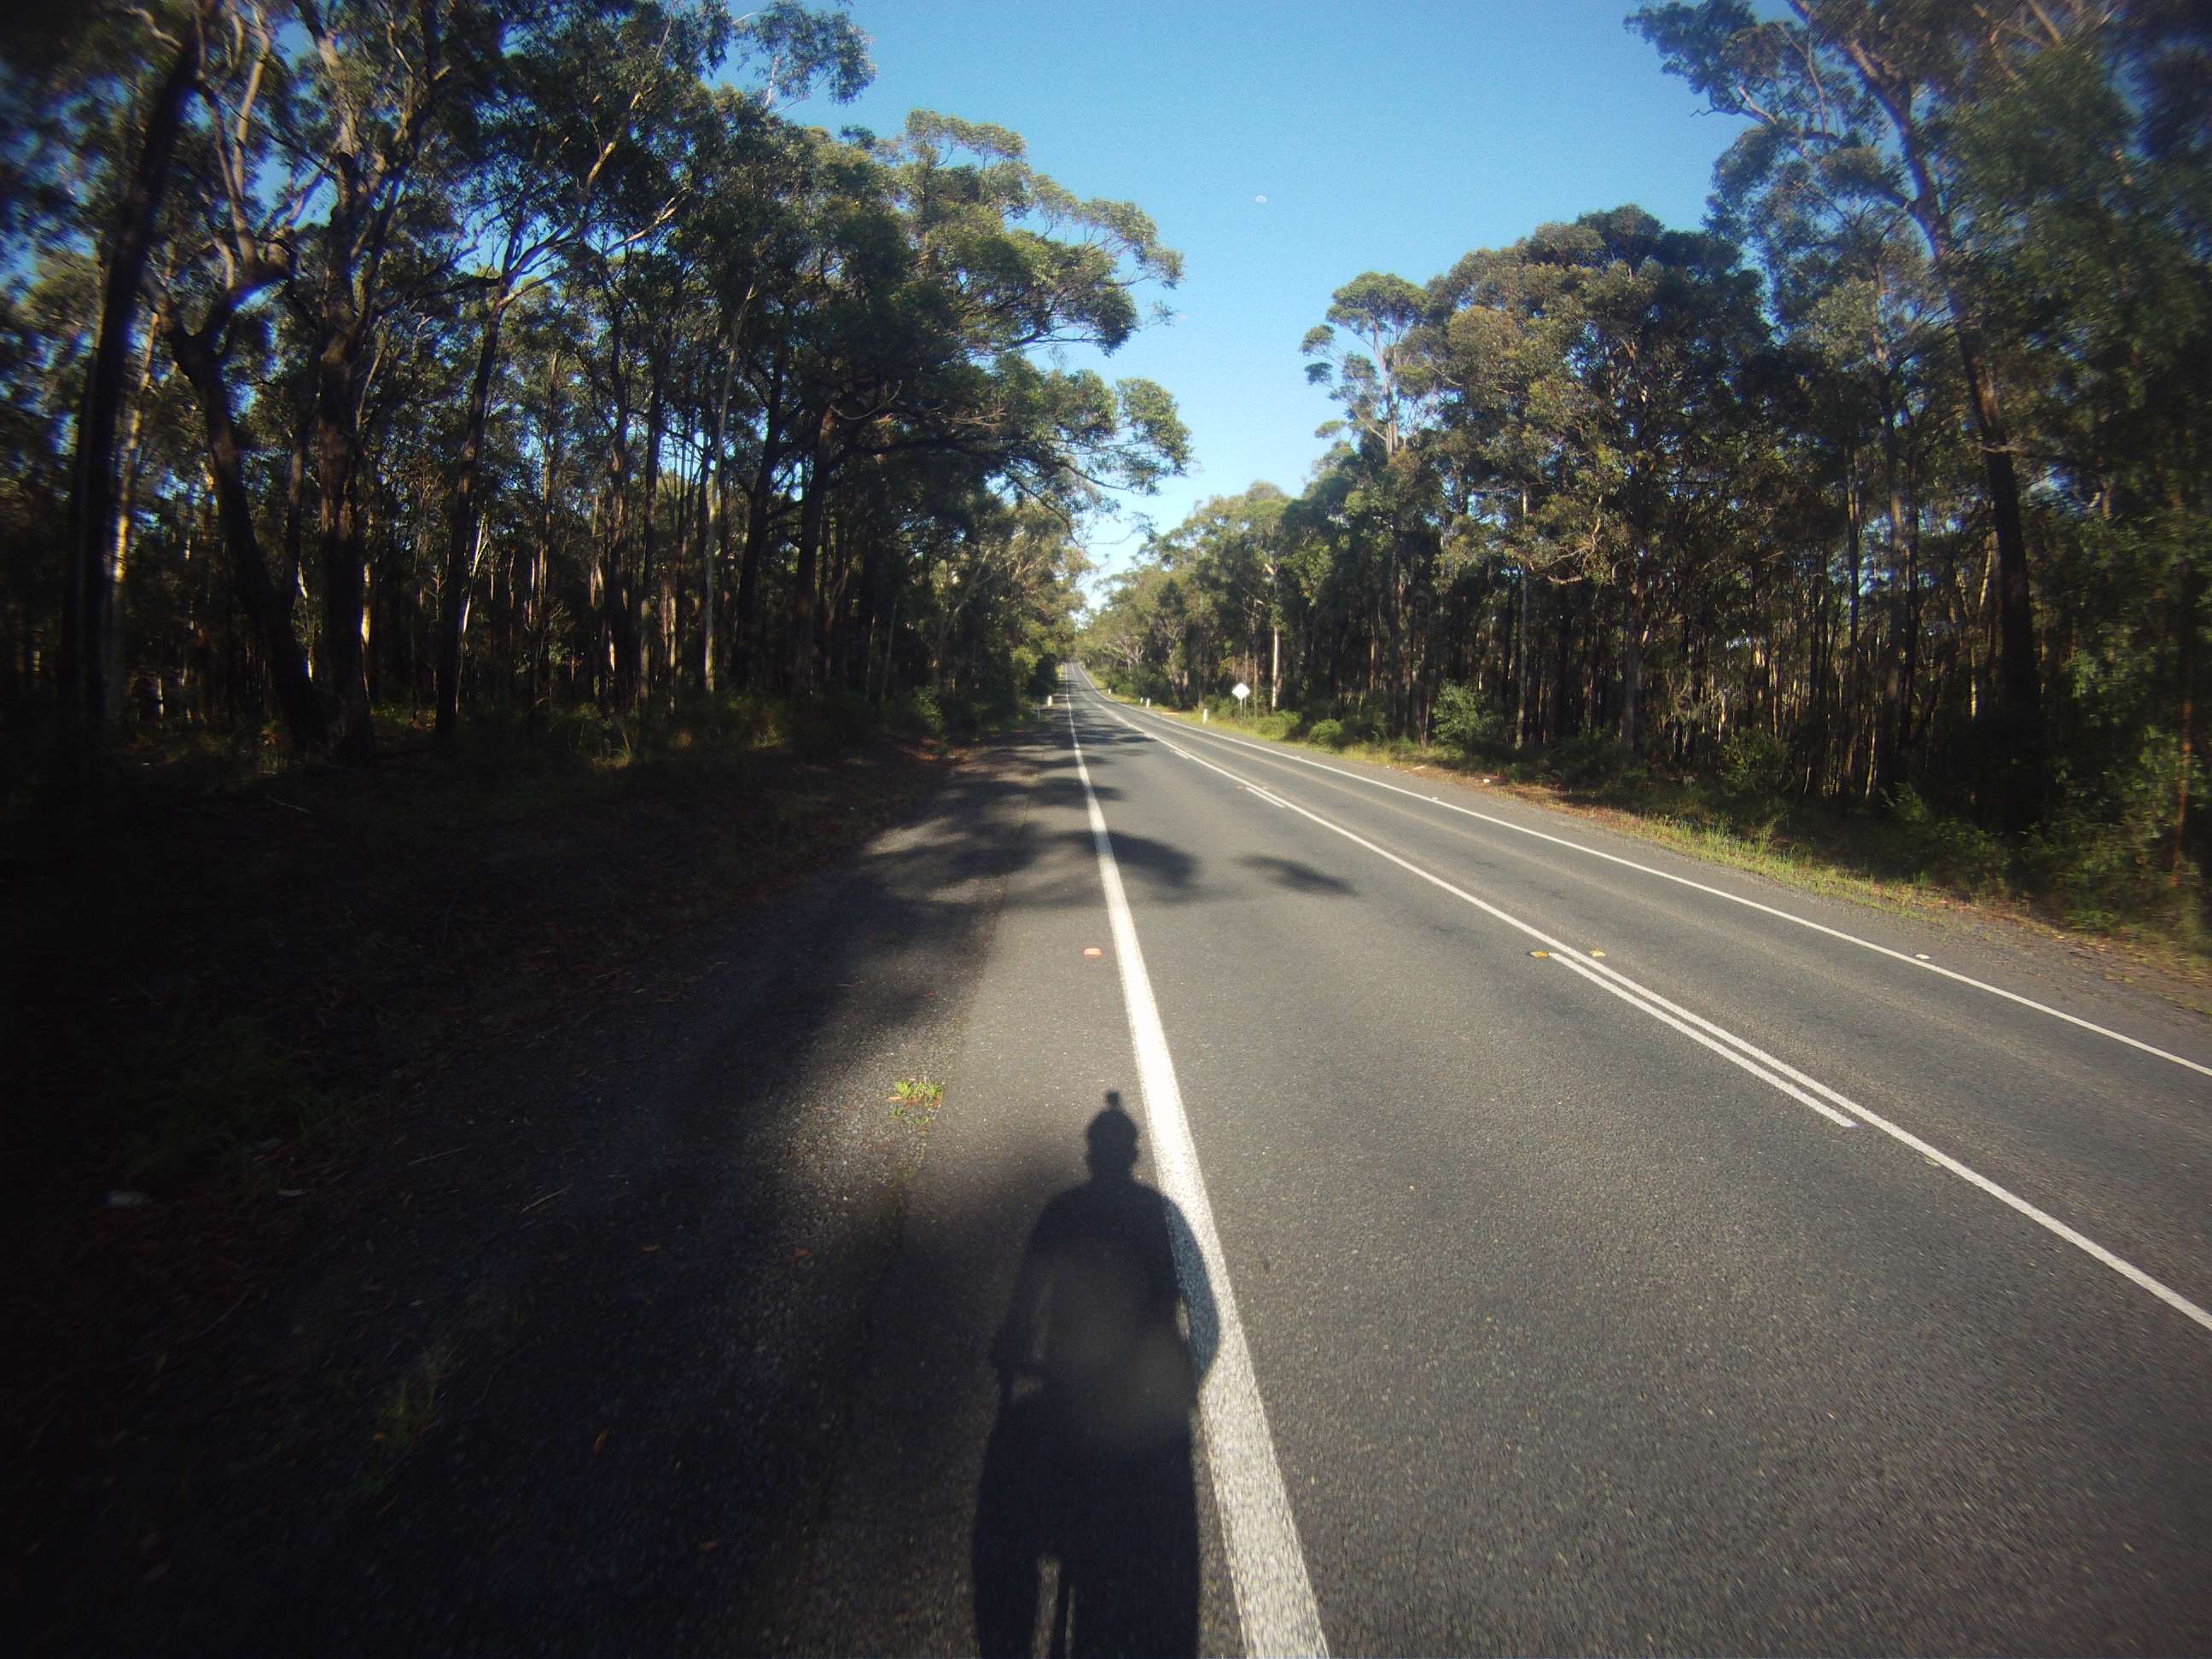
Forest Road
It is a lumpy piece of road, but pretty quiet and sheltered from any wind. Once I got to the Princess Highway, it was a nice roll for about 2kms downhill. Before a short climb up to Jervis Bay Road.
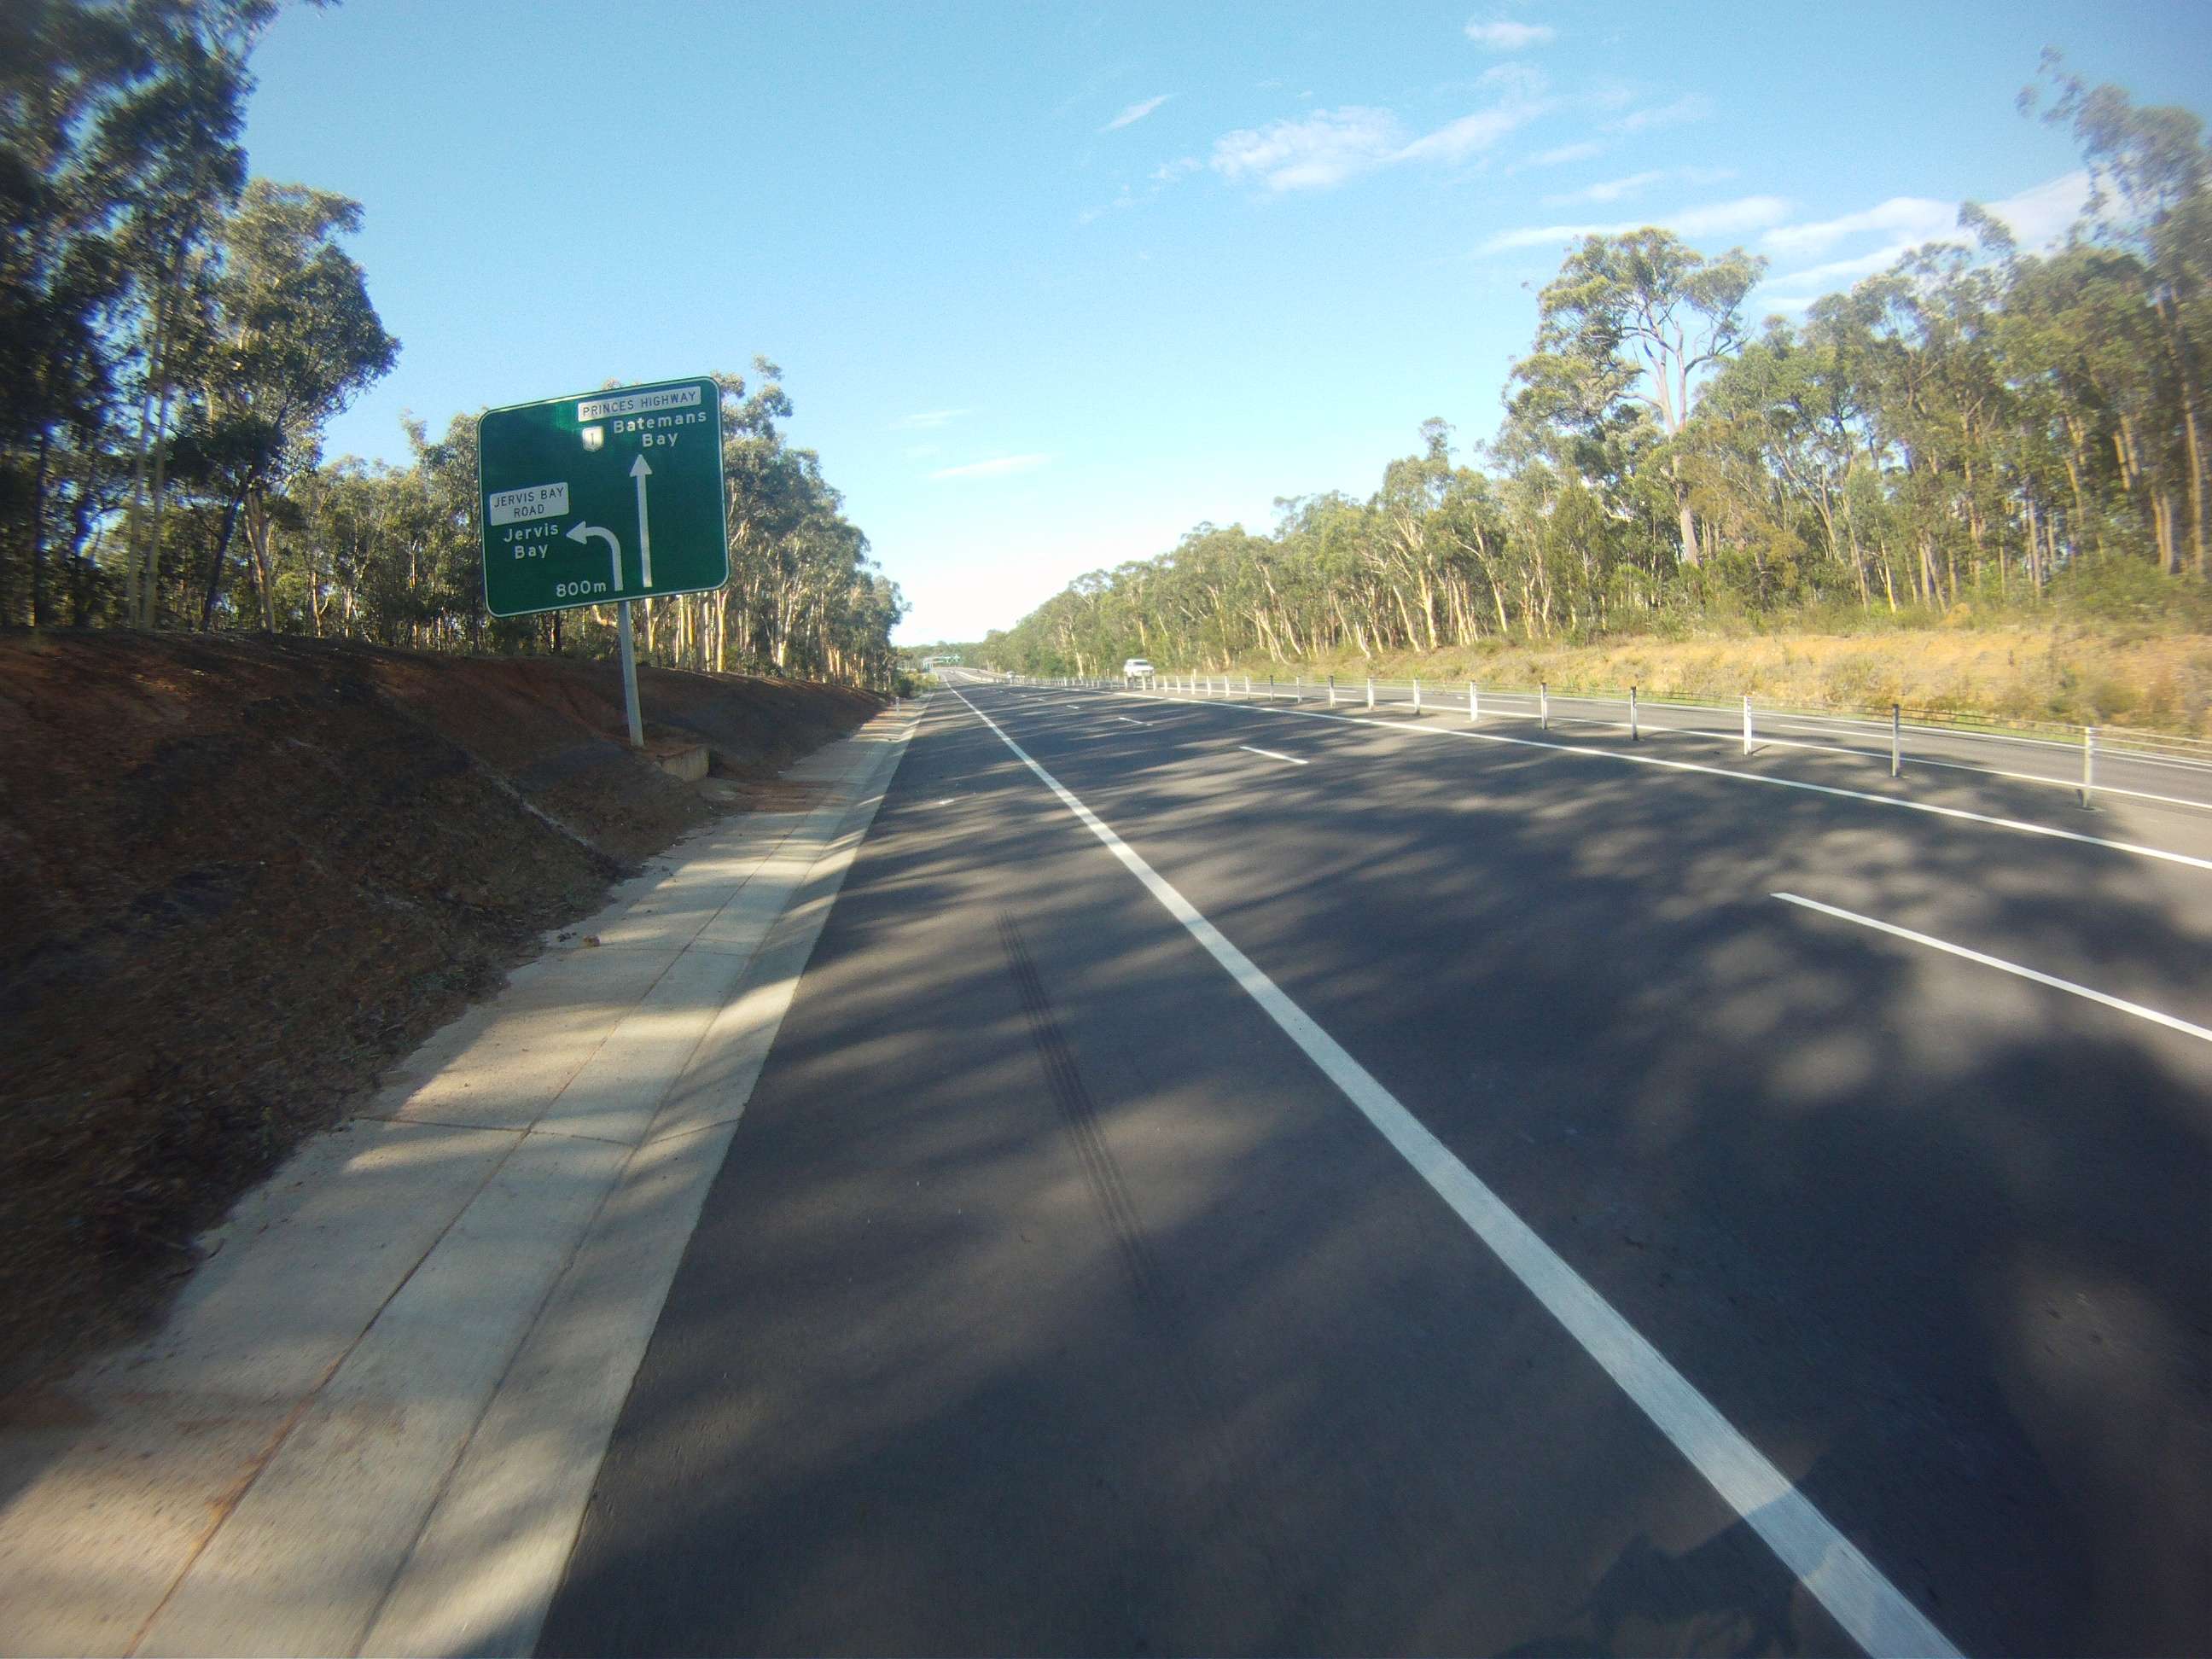
Husky Turn Off
The run along Jervis Bay Road is pretty rough. No shoulder and some pretty high speed descents at times. With the descents, naturally there will be some climbs. Some even had me out of the saddle.
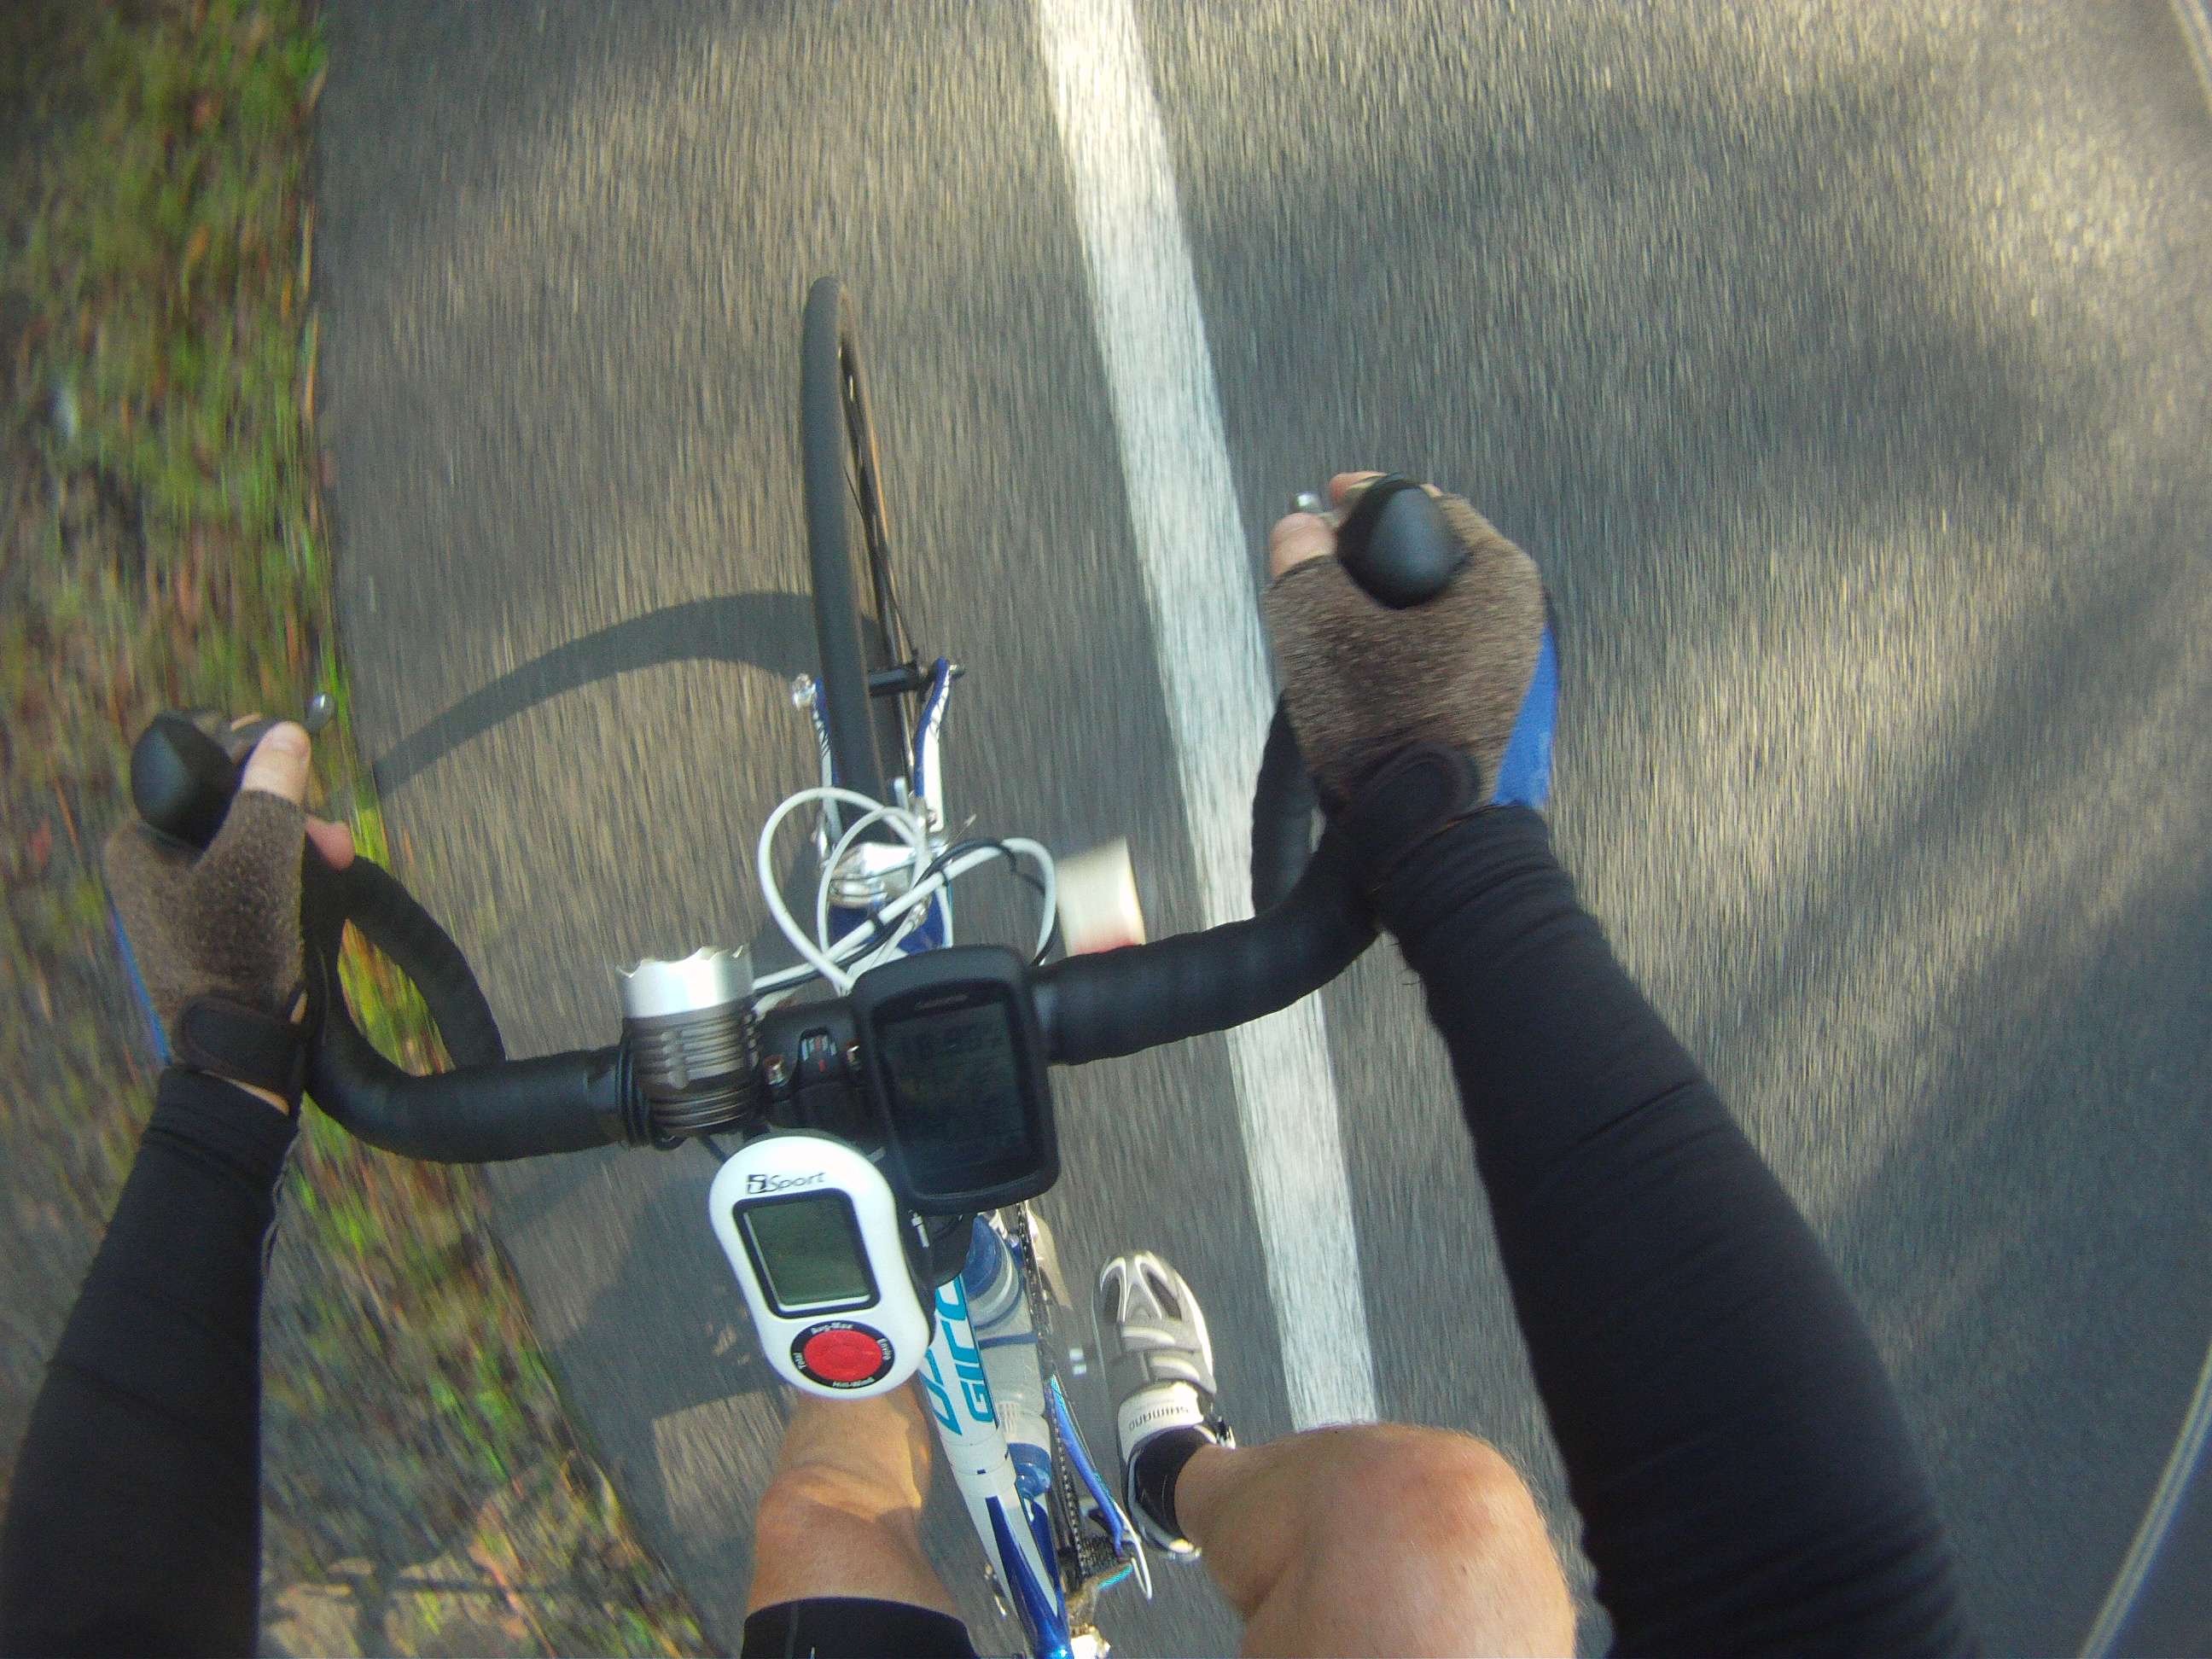
Out of the Saddle
Huskisson was the destination because the bride was at the markets selling her handmade cushions (www.cooshonz.com ).

Cooshonz. Cushions by Onz.
A quick stop, as it was getting pretty warm by that time, and I was off again. Back over the hills to get to the Highway. Then it was a a nice short roll down the hill before a 1.8km climb of 1.8%. I love how Strava builds the leaderboard for a new section right after you create it. At the top of that rise I had a decision to make, right on to Forest Road and back home, or turn left a little further along the Highway and do Nowra Hill. Some mental gymnastics and I figured if I went over Nowra Hill, I would go damn close to 100kms for the ride. Nowra Hill it was.
I wasn’t going to break any records this day, so I took my time over the top.
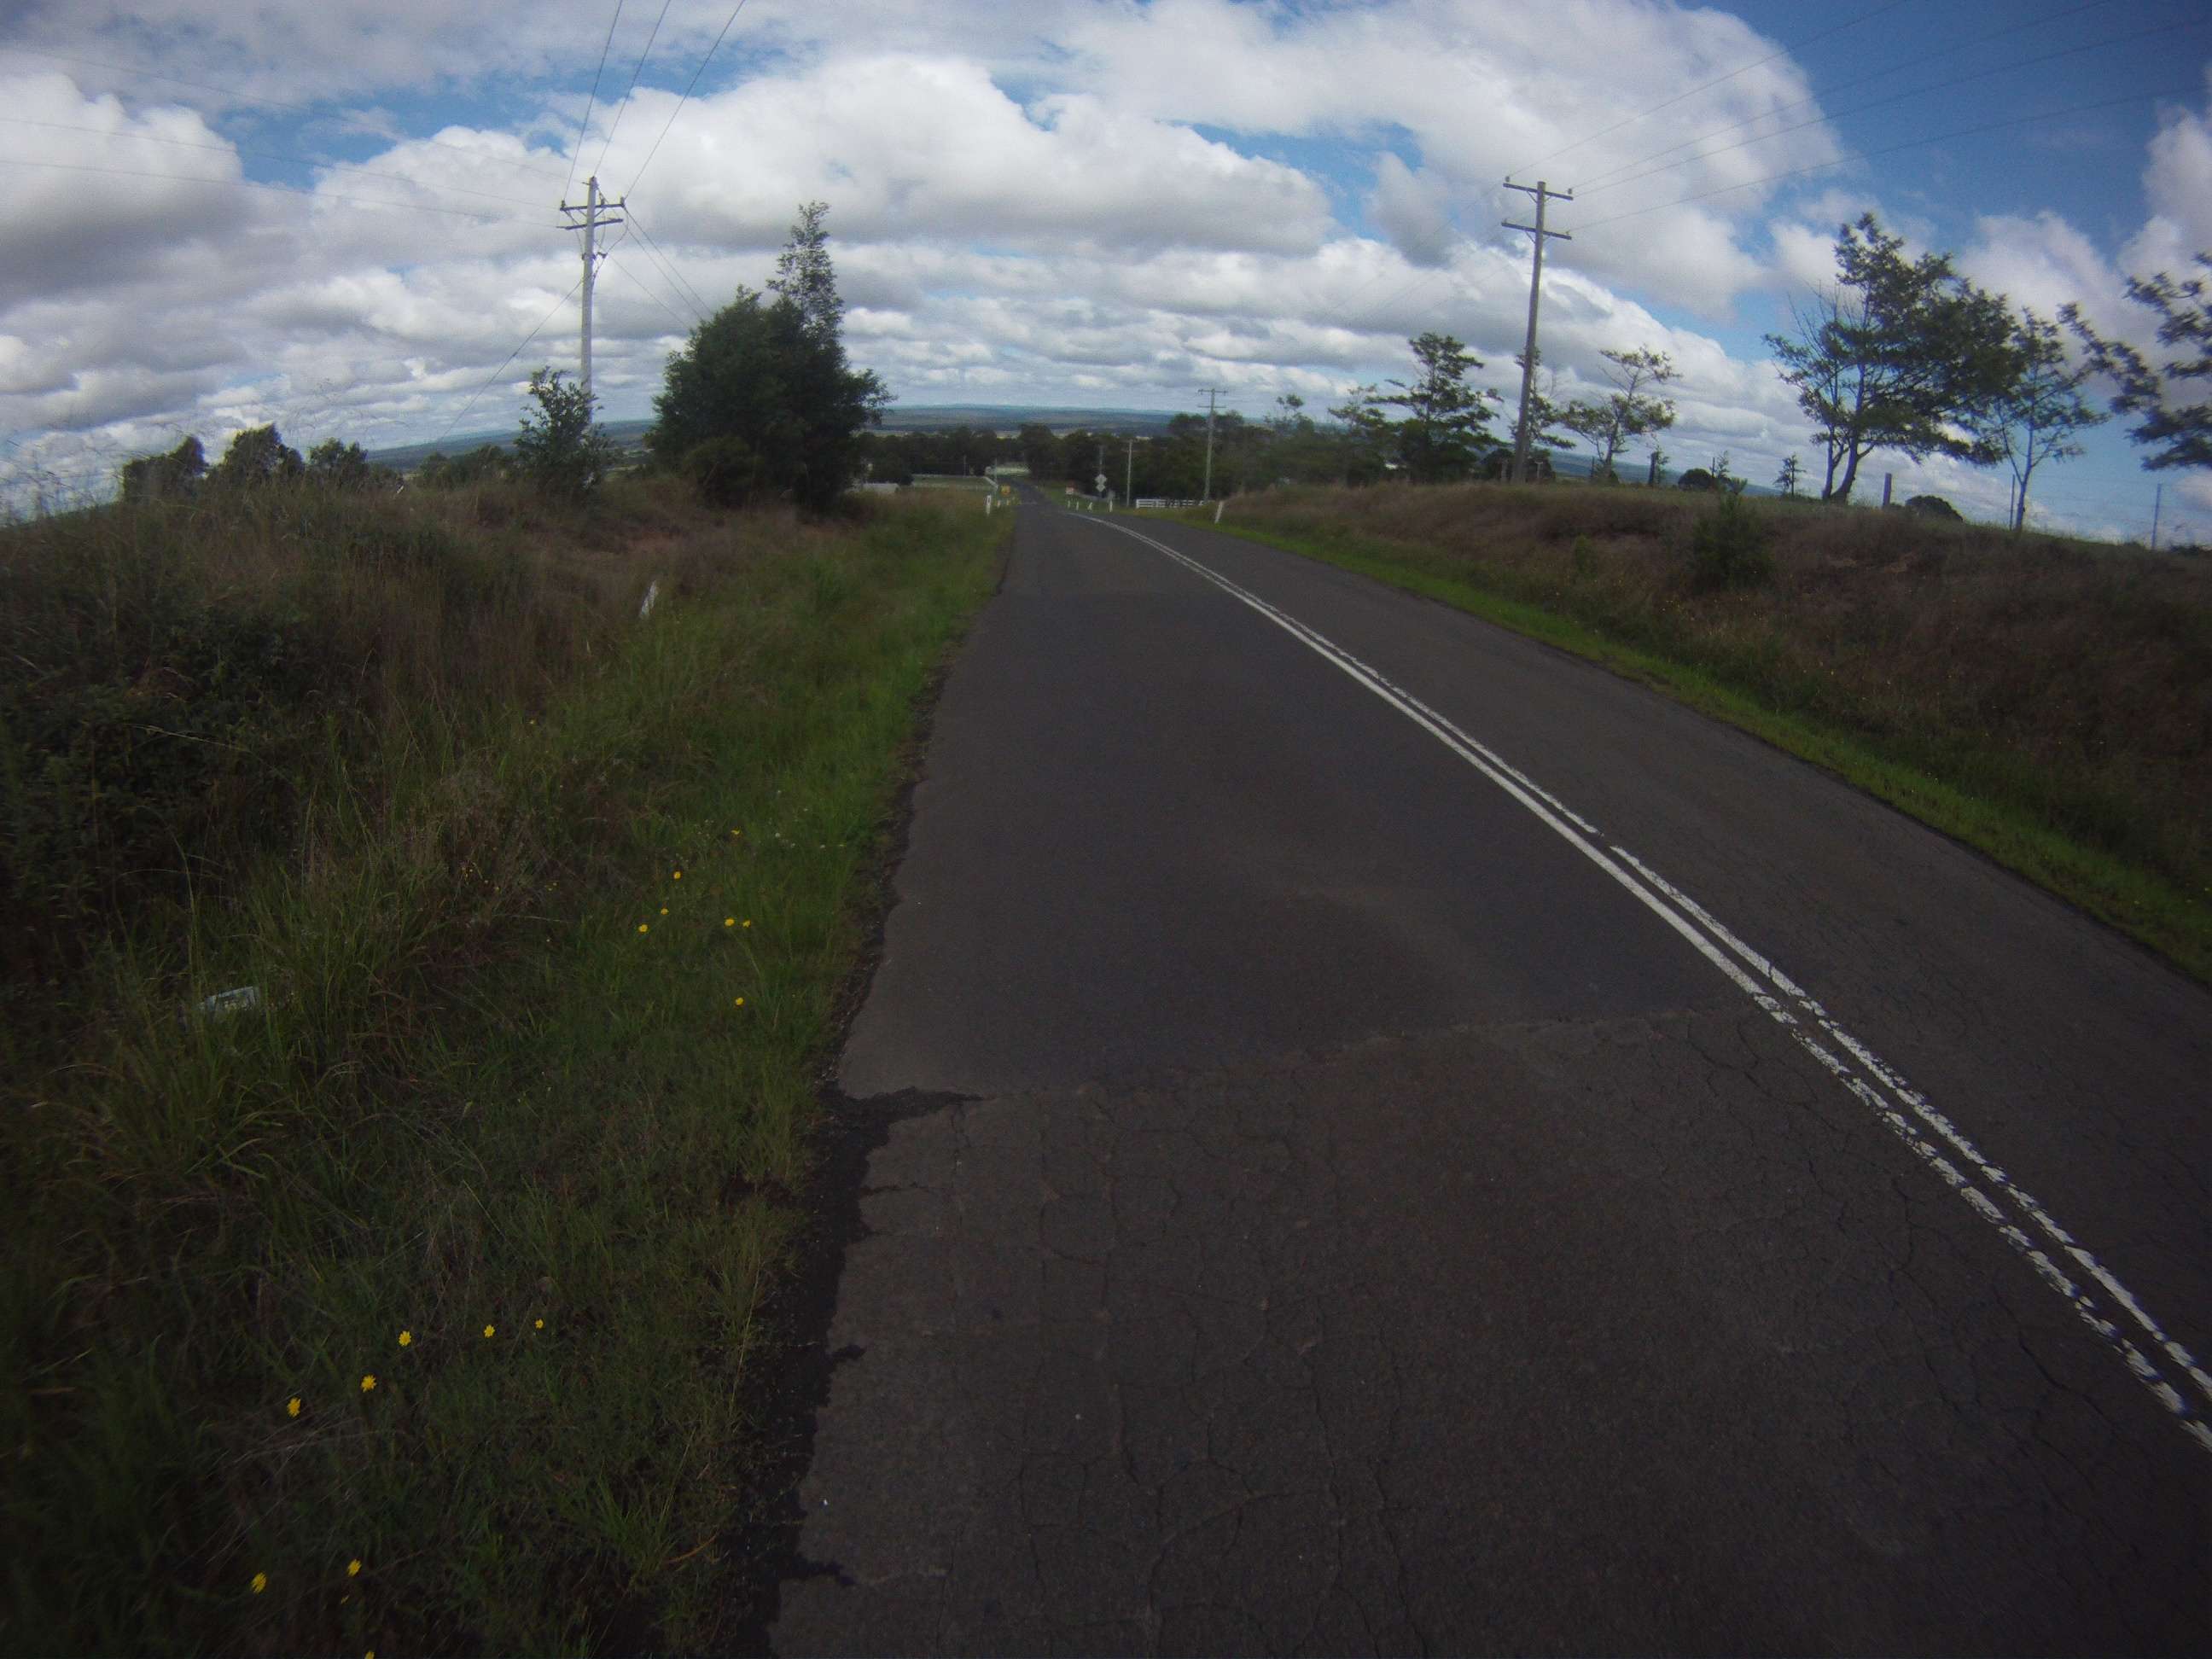
Atop Nowra Hill
I still managed to get my 8th fastest time from 18 attempts. That was a bit of a shock and probably points to my fitness slowly getting better. From Nowra Hill it is a long roll into Nowra. I stopped at the servo and grabbed a large chocolate milk and headed for the River.
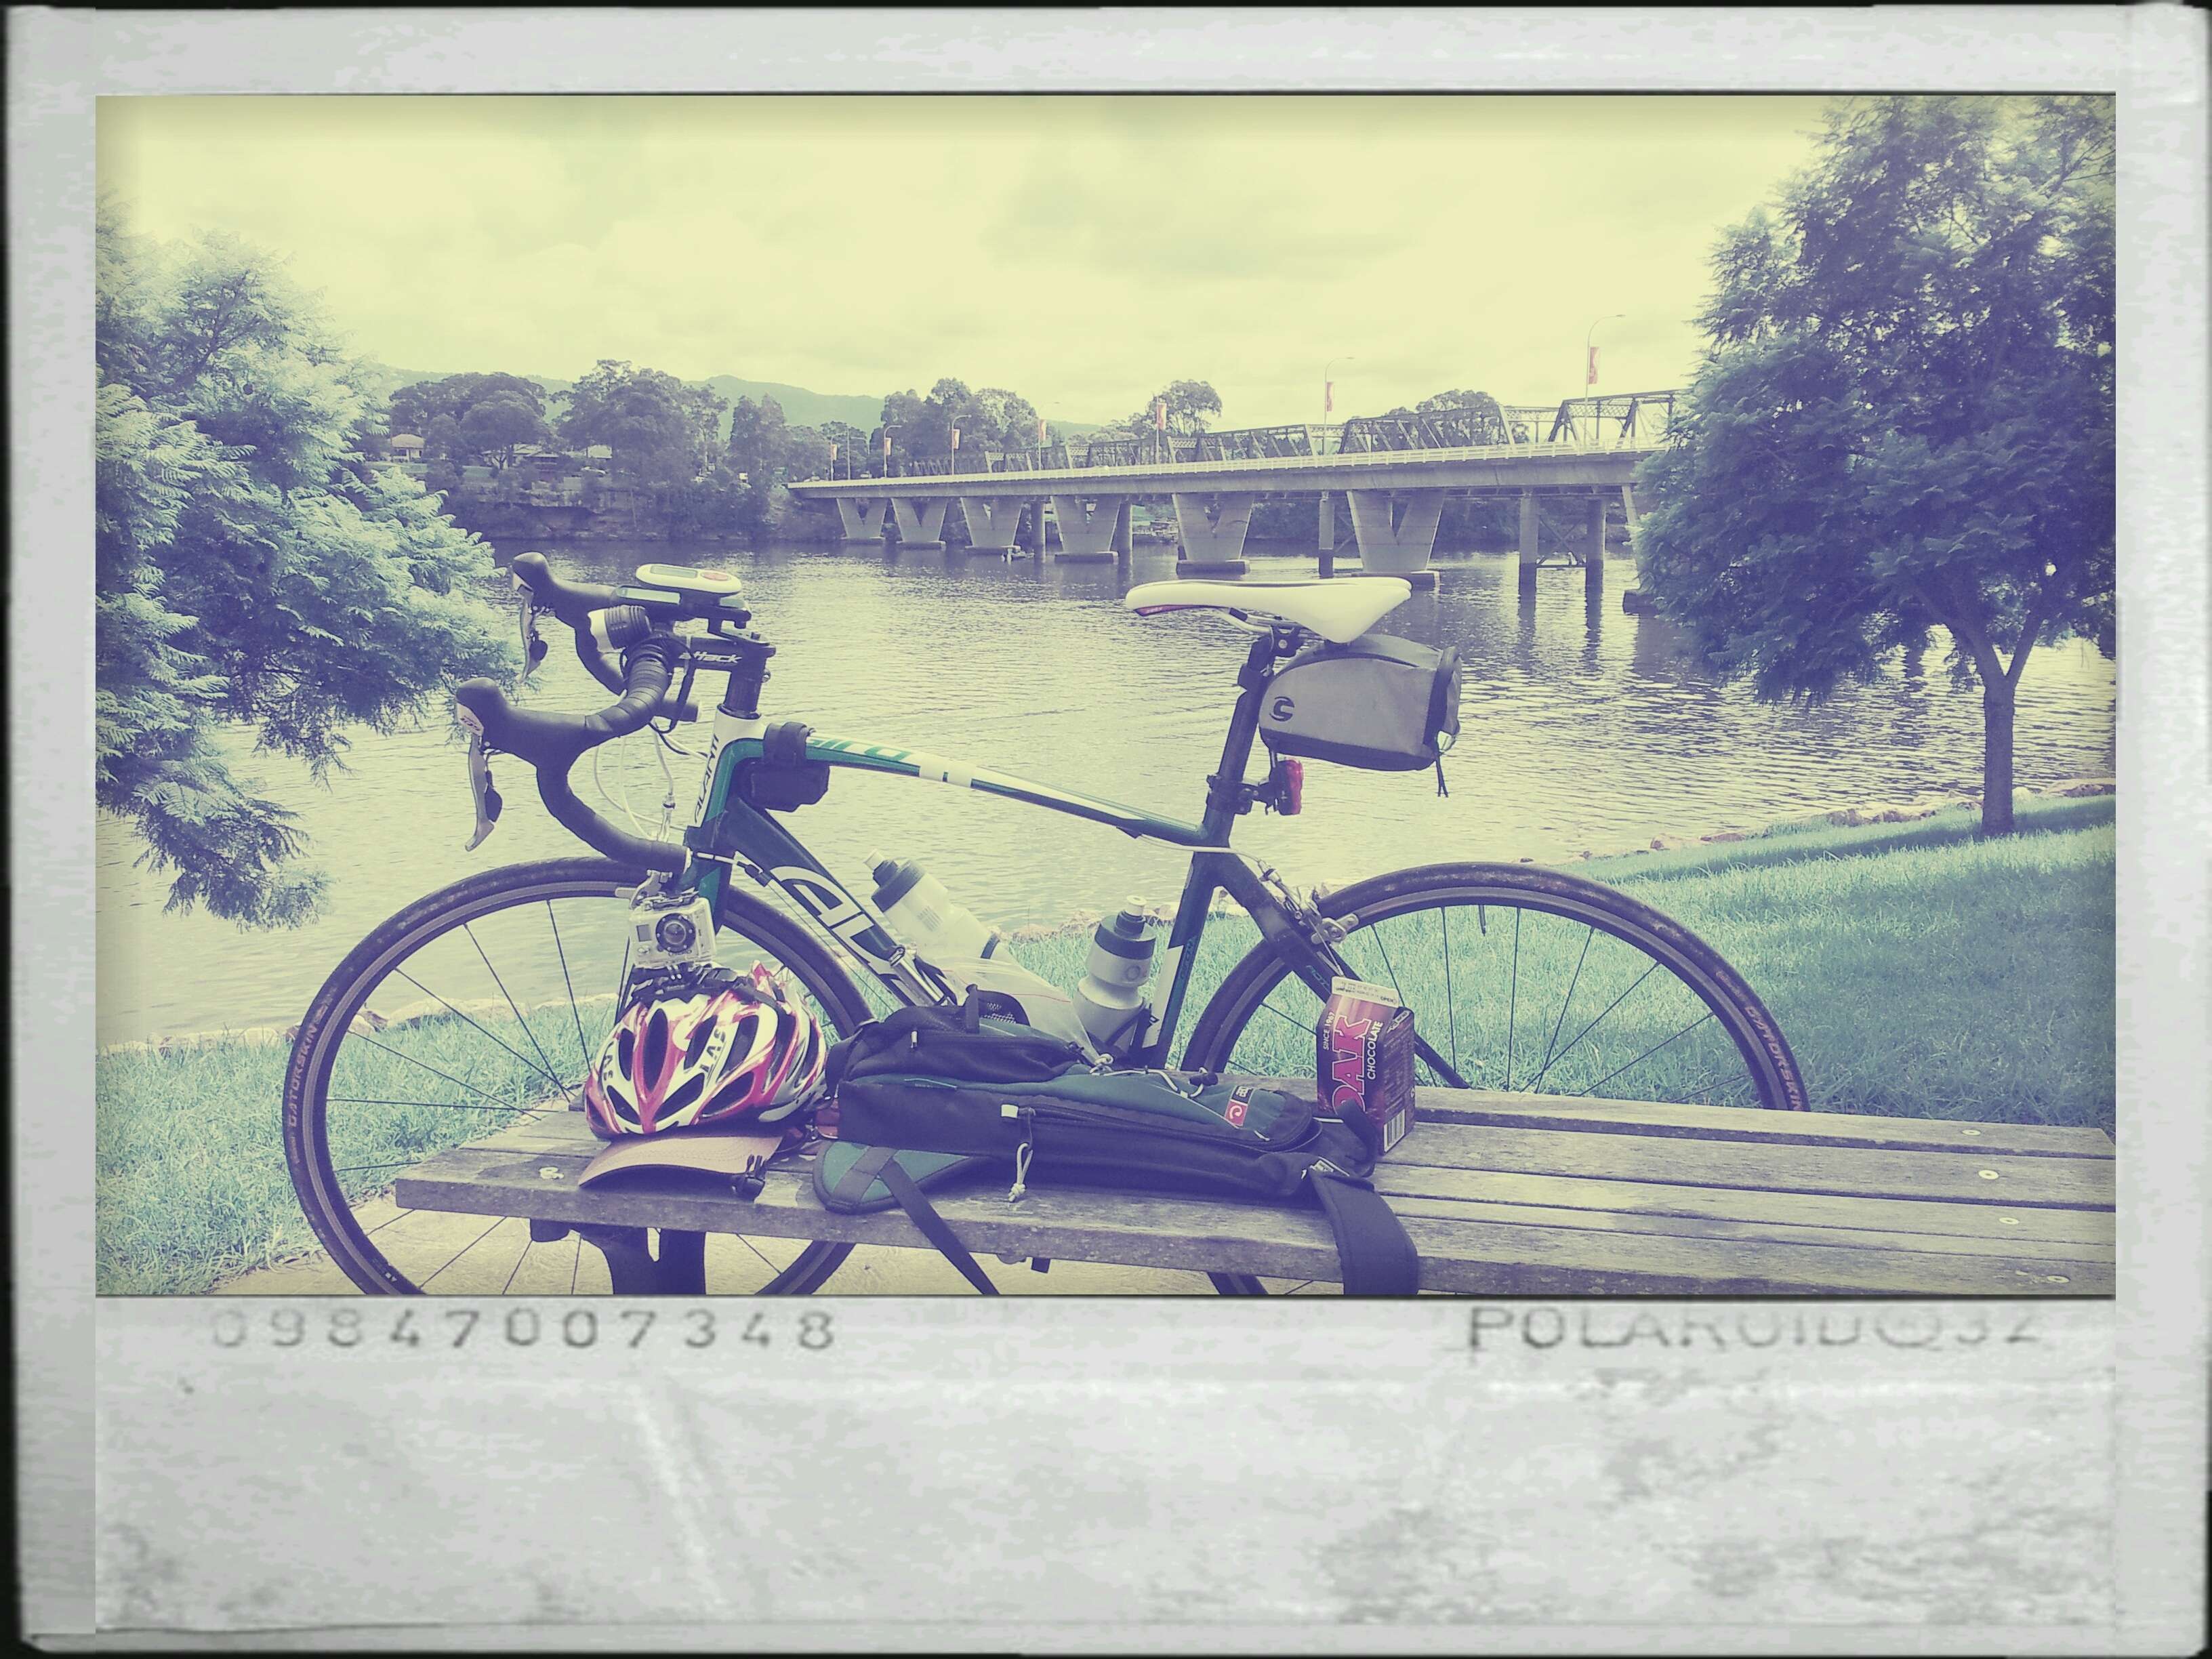
Shoalhaven River, Nowra.
After a short break to enjoy the view, the magpies carolling and 600ml of chocolate milk, I was off again. After a pretty hard hit out on the Saturday, I was starting to feel it on the way home. Heart rate was up and power was down. I was getting a sore back as well, so with about 15kms to go, I stopped for a stretch.
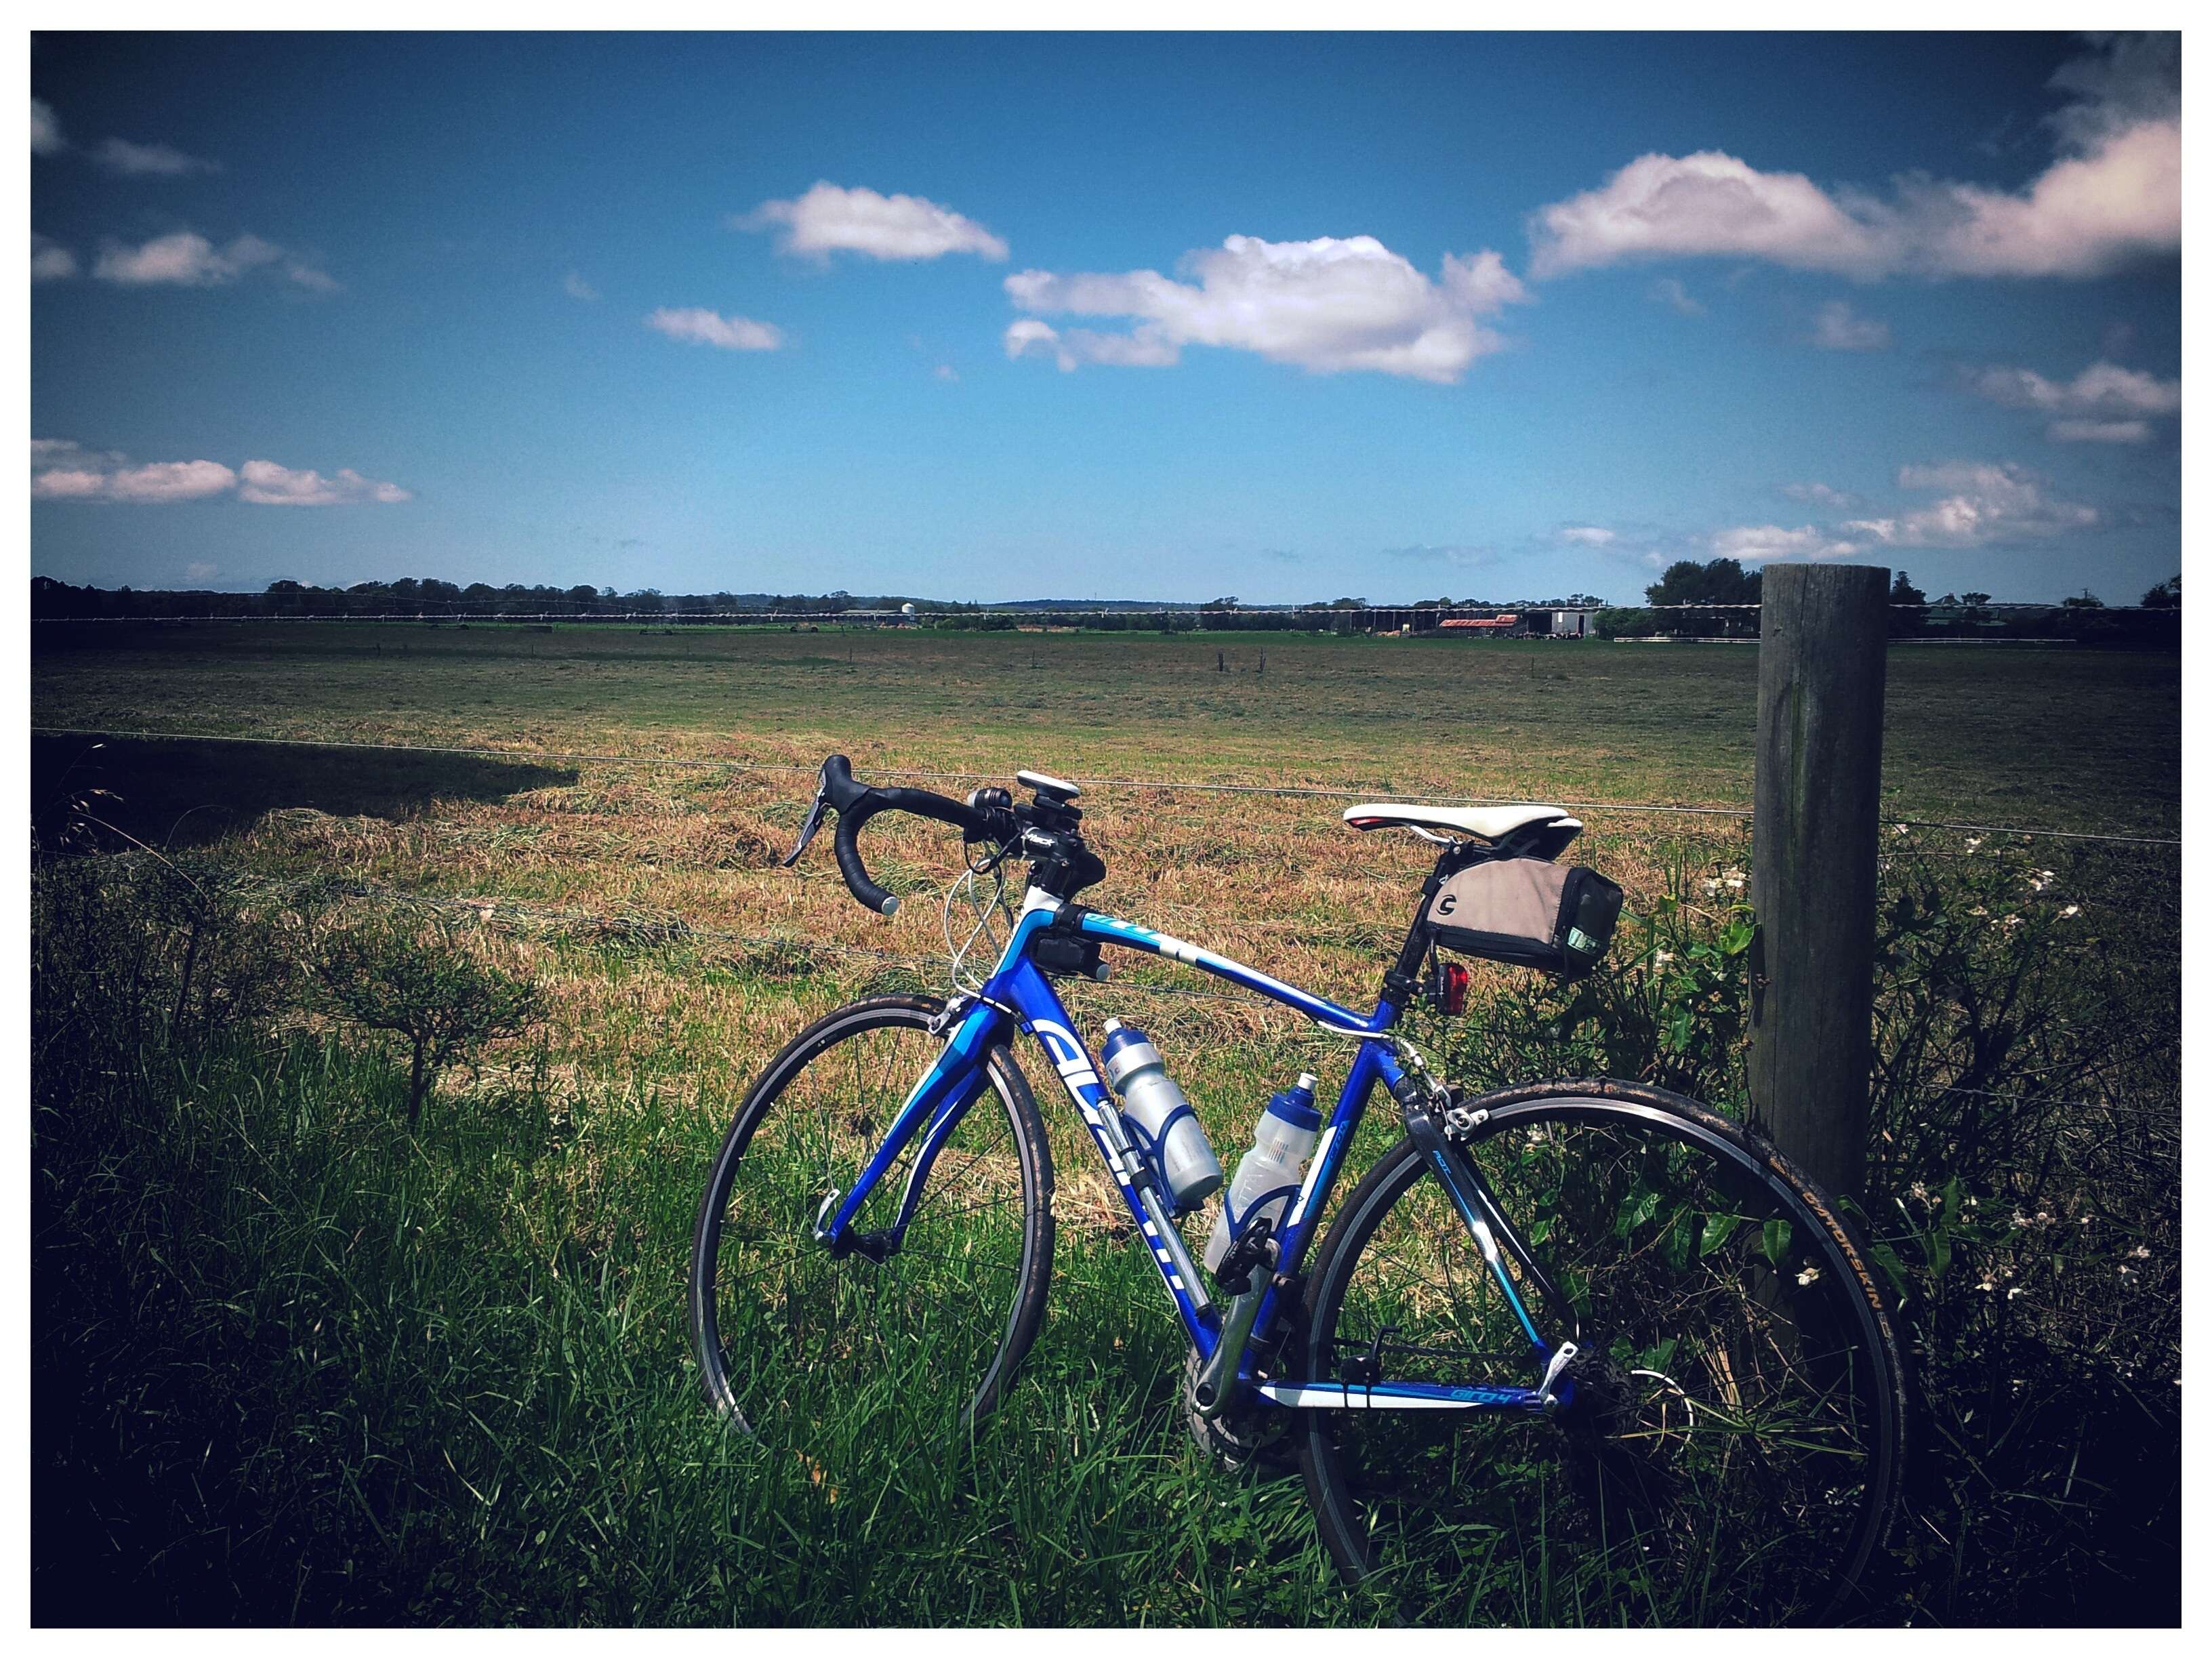
Paddocks, Pyree.
Then it was an easy paced ride into Culburra Beach, and with a slight detour to gain another 3kms, I hit the 100kms mark. I am pretty sure that is my 5th Century this year.
Wonder no more.
Michael Huebner versus Claudio Golinelli in 1990.
Well, for me anyway.
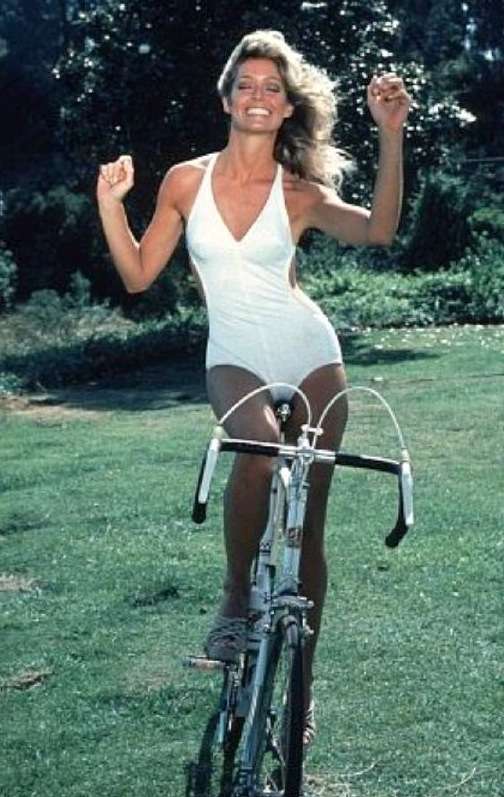
Farrah Fawcett in high heels riding no hands. 15 year old me would have passed out.
Thanks to grantw for the link.
If you find a terrific cycling photo, send me a link.
Since I have had that bloody power meter, there comes a time every ride where I give it all I have and see what sort of wattage my muppet legs can generate.
First ride out it was 812 watts. Then 700 odd. Today, we are heading in the right direction.
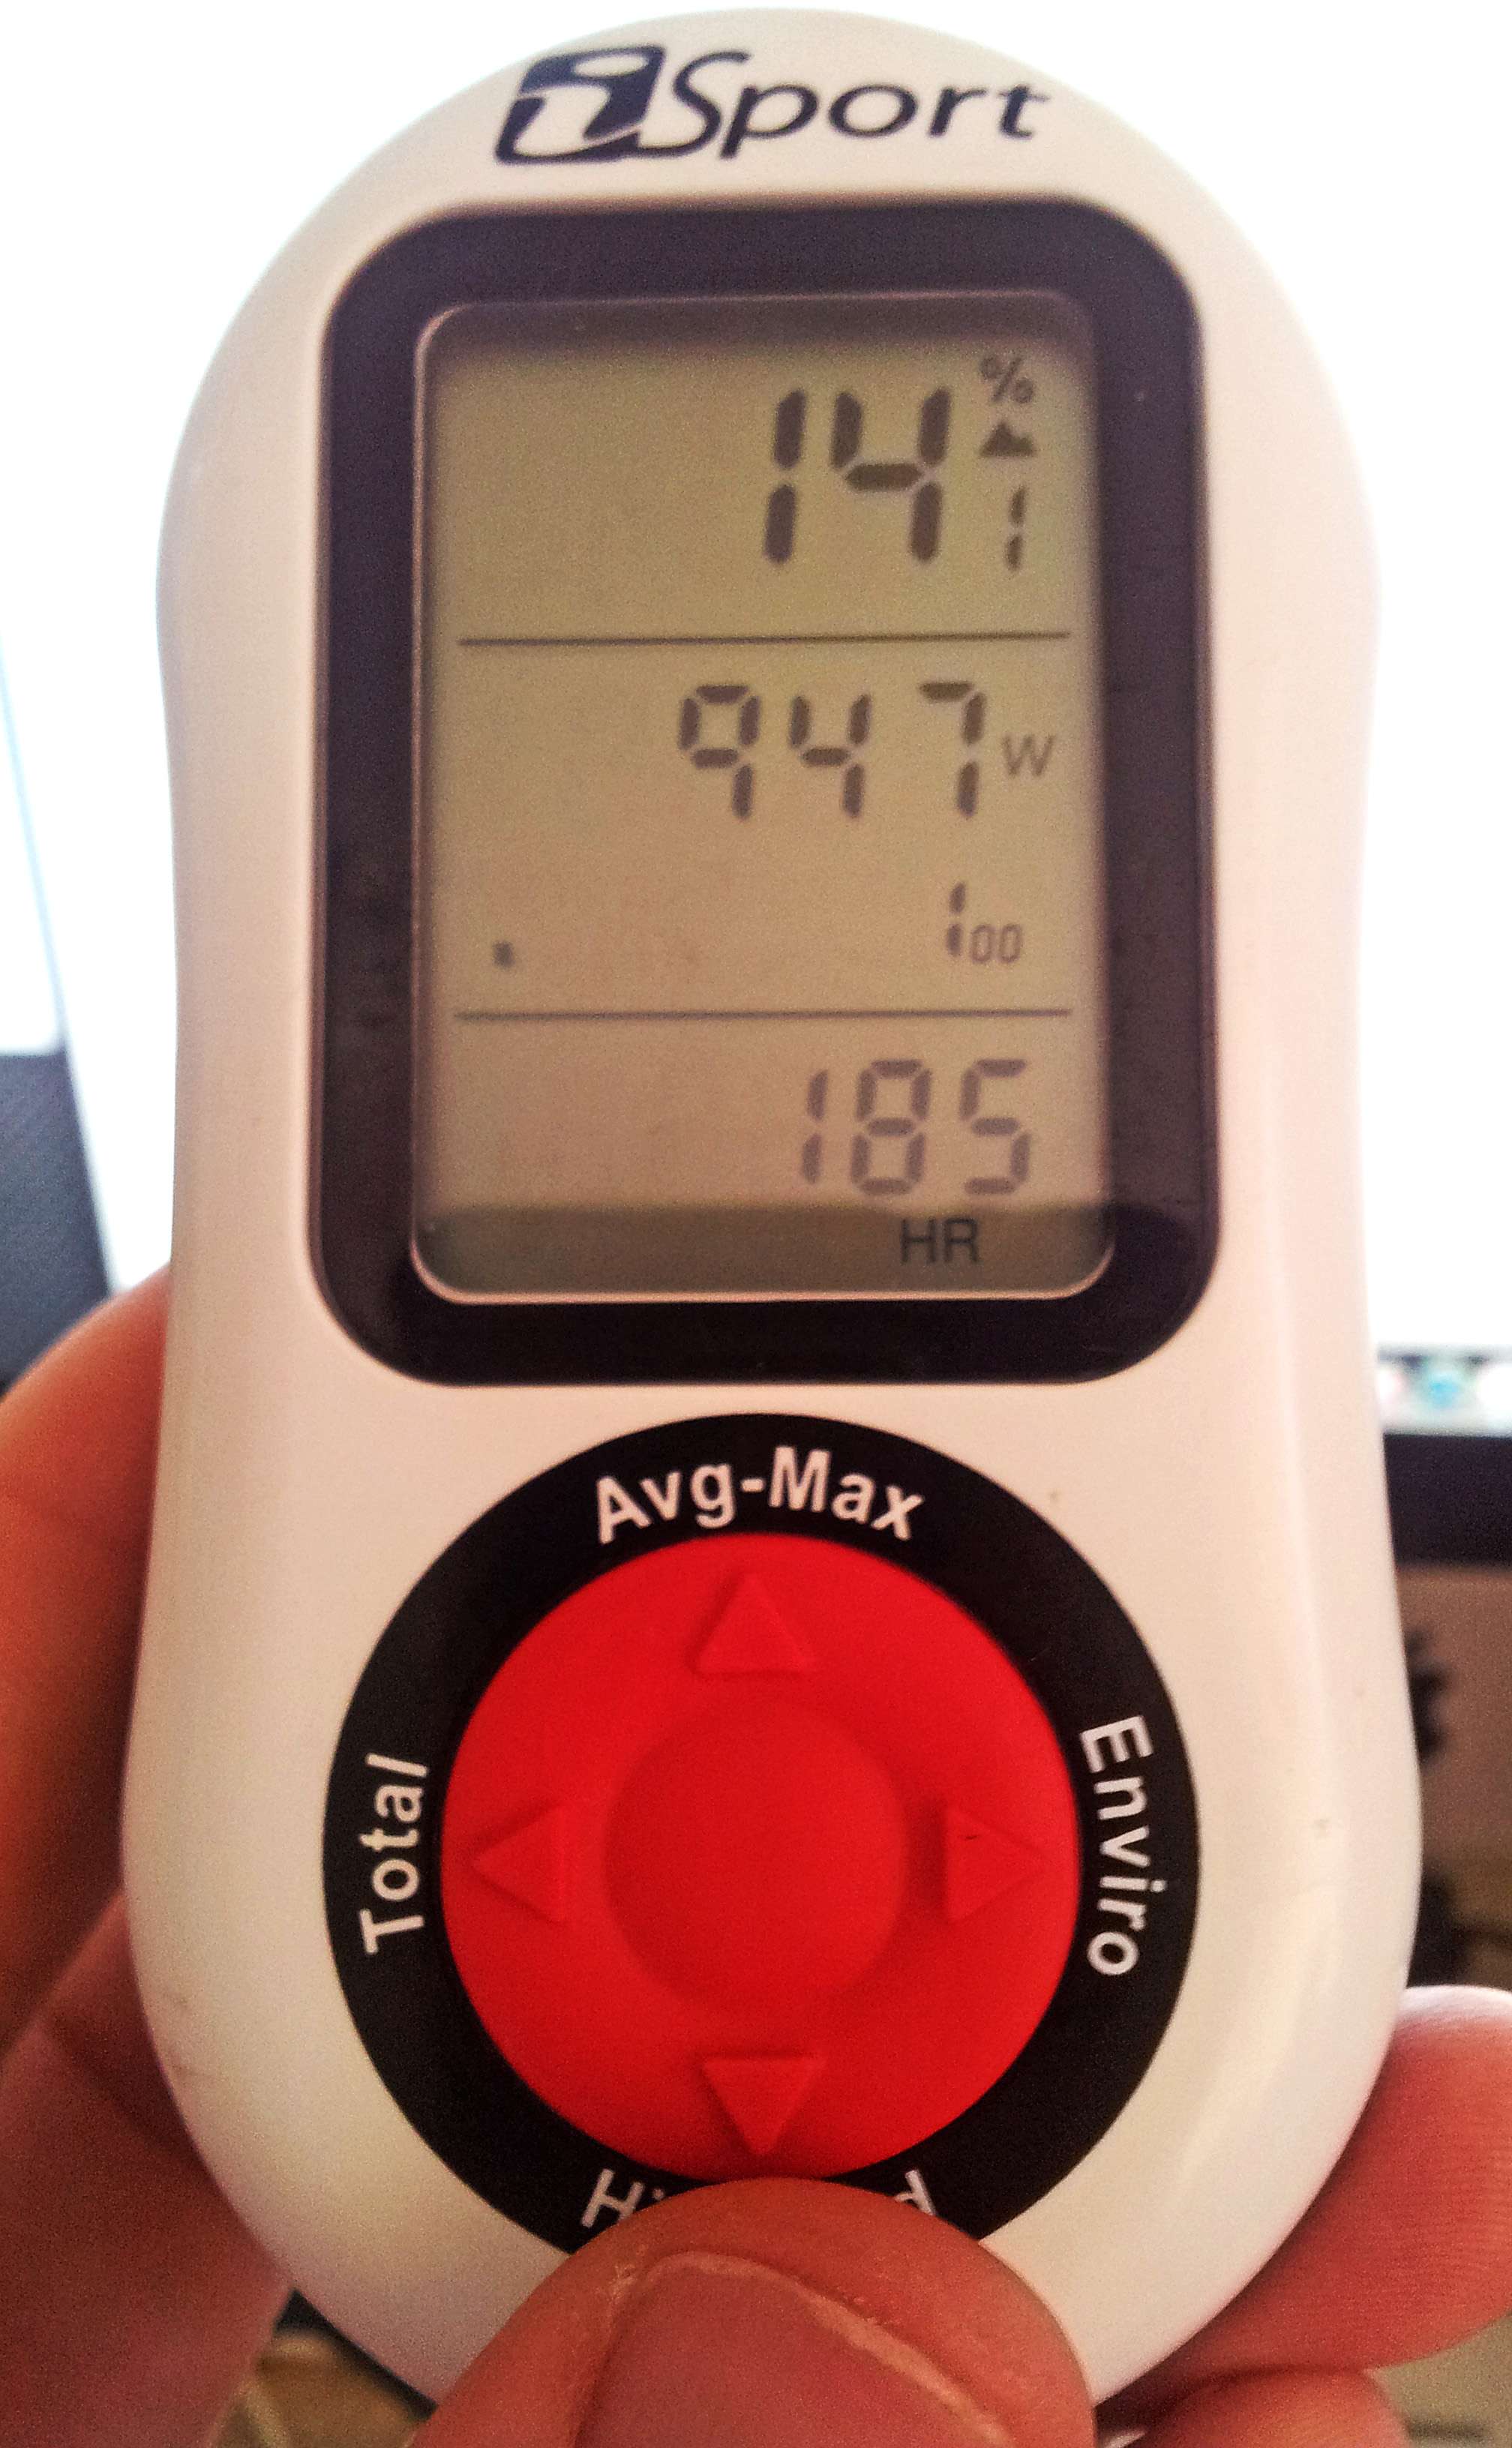
947 Watts.
1000 seems like the holy grail. That said, it was rumoured that Andre Griepel was putting out 1900 watts during the sprint at the Tour Down Under.
It isn’t just the competitors that have trouble climbing at the cyclocross races.
Have a great weekend.
© 2009-2024 Non Pro Cycling All Rights Reserved -- Copyright notice by Blog Copyright